Stock to demi-glace to glace de Viande.
Reducing, skimming and fortifying your stock…
Once you see the contents rise in the pot, mostly due to expansion, and see a few bubbles beginning to break the surface, you’re pretty much on your way. (In this example there are two batches going at the same time. One veal, one chicken. I’ll continue to work these two batches to completion throughout this article.) The trick to remember here is to add the heat slowly. Keep an eye on it periodically so that it doesn’t bubble over. It’s ok, and actually preferable if it comes to a gentle boil initially, but there is no need to let it continue beyond the initial skimming of the surface.
When making a clarified veal or beef stock it’s recommended by some to bring the batch to a boil first, pour off the first round of water and then add new cold water and start over on the heating process. It’s a step I rarely take. I’m willing to spend the extra time skimming and refining the stock. Skimming your stocks is essential to removing unwanted elements from the final product.
I hear “them” referred to as impurities all of the time, but in general they consist of fats and congealed proteins which you don’t want floating around in the end product and leaving some of them in can contribute bitterness to your final reductions. It’s good practice in general to skim the first layer of anything which comes to the top, no matter what you’re cooking. Beans, lentils, chickpeas, vegetables, meat, you name it. If it floats to the top once the pot gets hot – skim it and put it in a container that you can pitch in the trash later.
When making bone and meat stock, much of the skim is fat and other little nasty stuff you don’t want in your plumbing, so I suggest you don’t put it down the drain. We use plastic soup containers to store our skim temporarily and chill it overnight, so the fats solidify. Then we scoop the solids into some foil or a plastic bag and store it in the freezer until trash day, then pitch it in the morning so it doesn’t have a chance to melt and run all over the place. The last thing you want to put down the drain is beef, lamb or goat fat, though all fats should make it into the trash rather than the pipes, according to any state municipality. If you’ve never worked anywhere with a grease trap in the kitchen, consider yourself lucky. Once you see, and worse smell one of those, you’ll happily skim your stocks forever after.
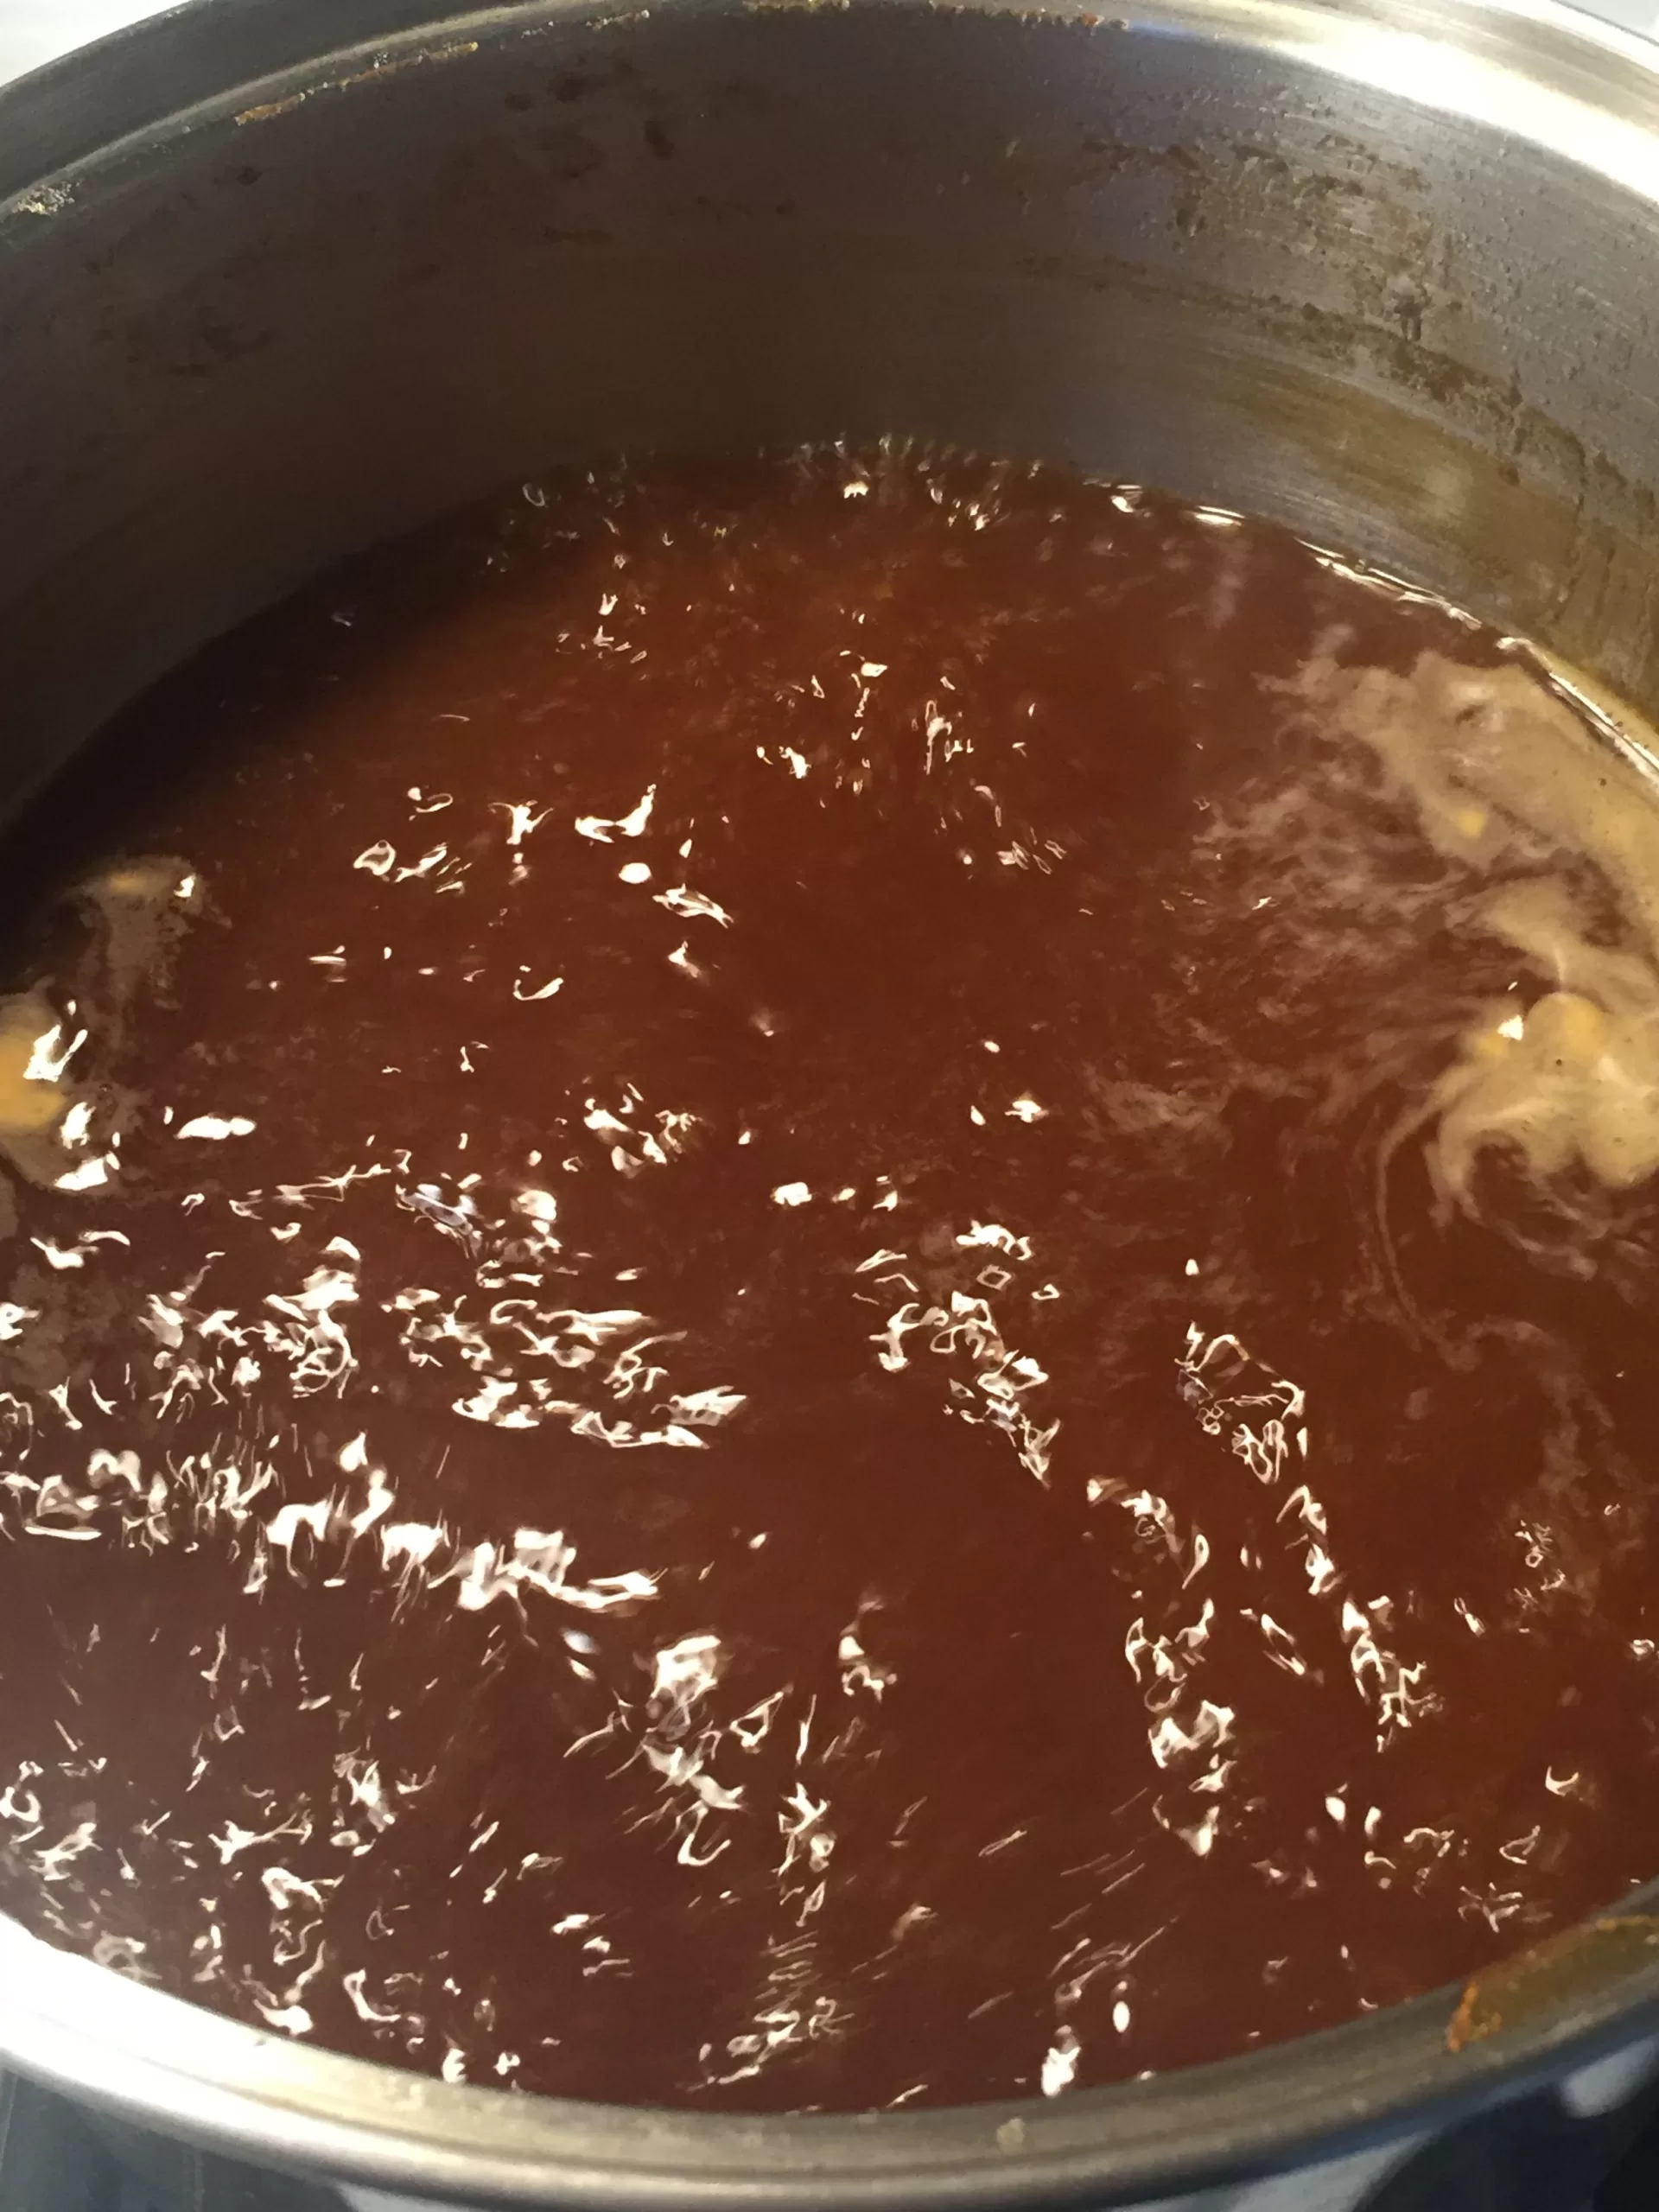
One more note on skimming. You have your initial skim, which is mostly foam and some assembled proteins and is usually kind of difficult because everything in the pot at this point is floating to the top. After a while most of it, the veggies and intentional additions, will fall and get out of the way. The stuff which stays at the top is what you get rid of. Later, you’ll have several other skims to perform throughout the process which will mostly consist of fats in the beginning and then surface films which build up over time. They’re usually bitter, hence why we remove them.
Just remember to keep skimming every time you see a little island of crud floating on the surface, usually anchored to the side of the pot if they’ve been there long enough. Don’t feel the need to hover. Just visit the pot every now and then. We have a long way to go.
After your initial skim, get the pot to a point where a slow simmering hole opens in the center of the stuff which is still floating and then adjust the flame to maintain that condition. If you come back to the pot and it’s started to simmer more violently than you intended, as my heavy bottomed stock pot likes to do, simply dial back the flame a bit incrementally until you hit the sweet-spot.
The “sweet spot” is best described as a condition where the water has a shimmer or shake to it, and a good amount of evaporative steam coming off, with only the occasional bubble breaking the surface. One of my most treasured kitchen gadgets, my “secret weapon” if you will, for really dialing in the perfect flame is a stove-top heat diffuser. This little thing makes the magic possible. Without it, any kind of consistent low-end flame is really difficult, if not impossible to maintain. It has to be the mesh-type. The solid diffusers are crap. This is the exact one I’ve used for years, however the handle is crap and just gets in the way. Remove it and round-file it. I use this diffuser all the time, religiously, from the initial stock all the way to the final glace. Just don’t wash it. It’s much happier to just burn clean and will rust profusely if you insist on getting it wet.
Once I have the pot really dialed in I’ll allow several 25% reductions to take place, usually 4 to 6 at least, and each time I’ll top the pot back off to its initial volume with water. This makes the skimming a little easier and is also what adds excruciatingly long cook times to the process. It’s completely intentional.
In the case of the veal stock I made to write this article, I topped off the pot many times throughout until I could see the real richness I was after. The chicken, not so much. I can’t really tell you when in the process or how many times because I honestly don’t know. I will say that early on in the reduction process if the stock has come down by 25% and I don’t feel by tasting or looking that it’s rich enough to move on with the final reduction, I’ll fill the pot again and let it work some more. How and when to do this is a feel or touch which you develop over time with practice. It isn’t going to hurt, so go ahead and give it a shot. Start learning.
Fortifying stocks with additional meat and bone later in the cooking process would be another reason to top off with more water. For a brief primer on fortifying stock – who better than Daniel Boulud to take you down that road…
In general, I won’t go for the final reduction until I see that I have a really rich stock working in the first place. It also helps to top off with water when and if your stock is going to roll overnight while you’re sleeping. If you measure your reduction rate and it’s approximately 25% every 6 to 8 hours, it’s a safe bet that you can fill the pot and crash for the night without screwing the pooch and burning it all the way down. Just make sure you have decent smoke alarms.
I guess for safety’s sake I really shouldn’t recommend you do this… But I know this guy… and he tells me it works well… But you? Don’t do it!
Once you’ve hit the sweet spot and the stock reduces consistently for an hour or two, you can comfortably leave the room and let it roll away. I’m not recommending you leave and take the kids to soccer practice, but a properly set pot has been left on the stove of many a commercial facility overnight to allow for the magic to happen. When you get good at it – you’ll be comfortable taking a nap or setting it to allow for minimal reduction while you bed down for the night. Just don’t leave the house with food on the stove. No good can come of it.
The next morning (usually), I’ll find out where I am along reduction road and tweak my flame a little to get things moving again. As far as the pace of reduction I don’t ever really watch the clock. If I had to guess, depending on whatever target I’m trying to hit, I’d say that I’m most comfortable with a stock that reduces at the pace of about a half-inch per hour. It’s an approximation. I’ve never taken a ruler to it.
When I’m feeling very scientific, I’ll measure the water I add in the beginning and make a mental note of where the half-way point was, with room for a little extra to make up for the volume things will sit at after being cooked for so long. Mostly out of a 20qt pot I end up with 8 to 12qts yield at the end. Less if I forgot about the stock for a while and more if I run out of time or grow impatient. I want my water level to simmer down to half of what I originally put in. The pace at which it happens is of little consequence unless you try to force it or speed things up. Live within the confines of my prescribed simmering instructions and let it take however long it takes to reduce to 50% of its initial volume.
Click here for Part 1 – Introduction to reduction stocks and glazes, or glace.
Click here for Part 2 – Some thoughts, roasting bones and preparing mirepoix.
Leave a Reply