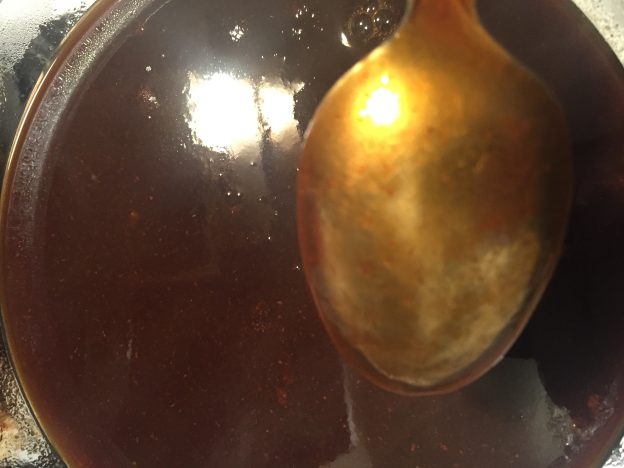
Stock to demi-glace to glace de Viande.
So ok chef, where’s the recipe?
Well… I’m not gonna tell you exactly how to make things, but I will certainly give you a basic rundown on how I do it.
Until you’ve cultivated a foundation for stocks which you can duplicate in your sleep, go find any recipe for basic chicken stock, dash off to the store and pick up supplies then get to work roasting the bones and trim.
The reason I suggest starting with chicken, aside from it being cheap and fairly forgiving, is that other bone stocks (beef, veal, fowl and game) are incrementally cost prohibitive, harder to source and their cook-times increase exponentially. A good veal glace in the hands of a home-bound cook will often require days to achieve given the normal interruptions of daily life.
If it’s not your job to make veal stock reductions, chances are you’ll have to leave your house before one is ever entirely finished. This will require you to stagger the process out during the week or spend an entire weekend and then some trying to get down to a good, authentic glace the old masters would be proud of.
It’s ok. Patience is part of the game.
When it comes to how much chicken to use in a stock – it’s a tough question to answer precisely. There are a lot of variables and these days when it concerns stock, I tend to cook by feel rather than follow any set recipe.
The internet is loaded with basic stock recipes. If you’re like me and like physical books on hand, you can’t go wrong with “The Professional Chef” from The Culinary Institute of America. It will take you to the ground zero of stock making.
What I do, and what many, many other chefs and sous chefs do across the globe is break a lot of the rules set forth in that book. However, it does detail the correct way to do things, certainly in the beginning and certainly if your objective is to create rich, clarified, beautifully aromatic stocks, which will always have a seat at the table. However, you’ll never see through one of these reductions. Count on it.
In most books, concerning stock, the mirepoix is added in the last hour of simmering. There is certainly a particular aromatic pop lent to the stock by doing things this way, but in many restaurants across the country it all gets tossed in early. If the delicate flavors and aroma are going to be a feature player in the end product, certainly consider this along the way. I’ve never met a stock that tasted worse because I heaped on the veg early in the process. I will say that if I wanted a highly aromatic broth or consomme later down the road, some consideration would be given to my timing.
From a utilitarian perspective, most of us have said, “to hell with clarity…” in the way we make stocks and just started piling the goodies into the pot with little concern for whether or not we’ll be able to see through it in the end. Over time, the economics of the restaurant business have not been kind to classical stock preparations.
In the commercial world we’ve been forced to adapt and bastardize the process to a great extent by doing things faster and cheaper. At home, we’re under no such restrictions, so why yield to them? Most of us in production food operations have many additional responsibilities which prevent us from sitting around babysitting a stock pot, but that doesn’t mean we should entirely abandon the good lessons in doing things the old, ehem – correct way. We just have to be creative and find ways to expedite tradition.
Moving on…
For a 20qt pot, I tend to use the carcasses and leg bones of 4-6 whole birds. The breast meat is usually removed beforehand and reserved for another dish.
More often than not, the leg meat will be removed after being roasted on the bone and then the bones are frozen until I have enough for a batch. Occasionally I’ll poach a bunch of legs to make the meat easier to remove, reserving the poaching liquid as the base for the stock.
Once I have a decent amount of bones – they are always roasted in the center rack to at least golden brown. Sometimes I go a little darker, though you must be aware of the potential for astringency in the final sauce later down the road should you darken them too much, i.e. burn them. Roast the bones at a minimum of 375 to a maximum of 450 depending on how much time you have.
Meat and bones will brown differently depending on what type of animal, the thickness and makeup of the bones, the fat content left on them and how dry they were going into the oven. If I have a lot to do and don’t want to hover over the oven, I’ll put them in on a slow roast.
When dealing with beef and veal bones the higher temperature range is pretty much required. They simply won’t brown correctly or release much of their internal goodness at lower temperatures. Skinny little chicken bones can be satisfactorily browned with a little less heat. It’s easy to scorch a pan of them at 450, so if you get caught up doing something else and forget about them, the lower range will be more forgiving.
When the bones are done, I remove them and add them to the pot, moving on to deglazing the pan. In the early days of my stock making journey when it came to deglazing, I used water. I’d add about a quart to the pan and gently simmer and scrape until all the fat and little brown bits (the fond) came loose, and then pour it all into the stock pot. There’s a downside to doing things this way.
The pan cools entirely during the process, forcing a reheat and the addition of more fat before you start working on the vegetables. As well, when it comes to pouring the contents into the stock pot, you end up having to maneuver a large pan full of hot liquid fairly high into the air, banging into low-hanging hoods, splashing the contents everywhere and never quite getting it all into the pot. Don’t ask me how I know.
These days I deglaze with my mirepoix; a not so difficult process which saves steps, keeps things clean, is more safe and overall speeds things up. Let’s look at the vegetables.
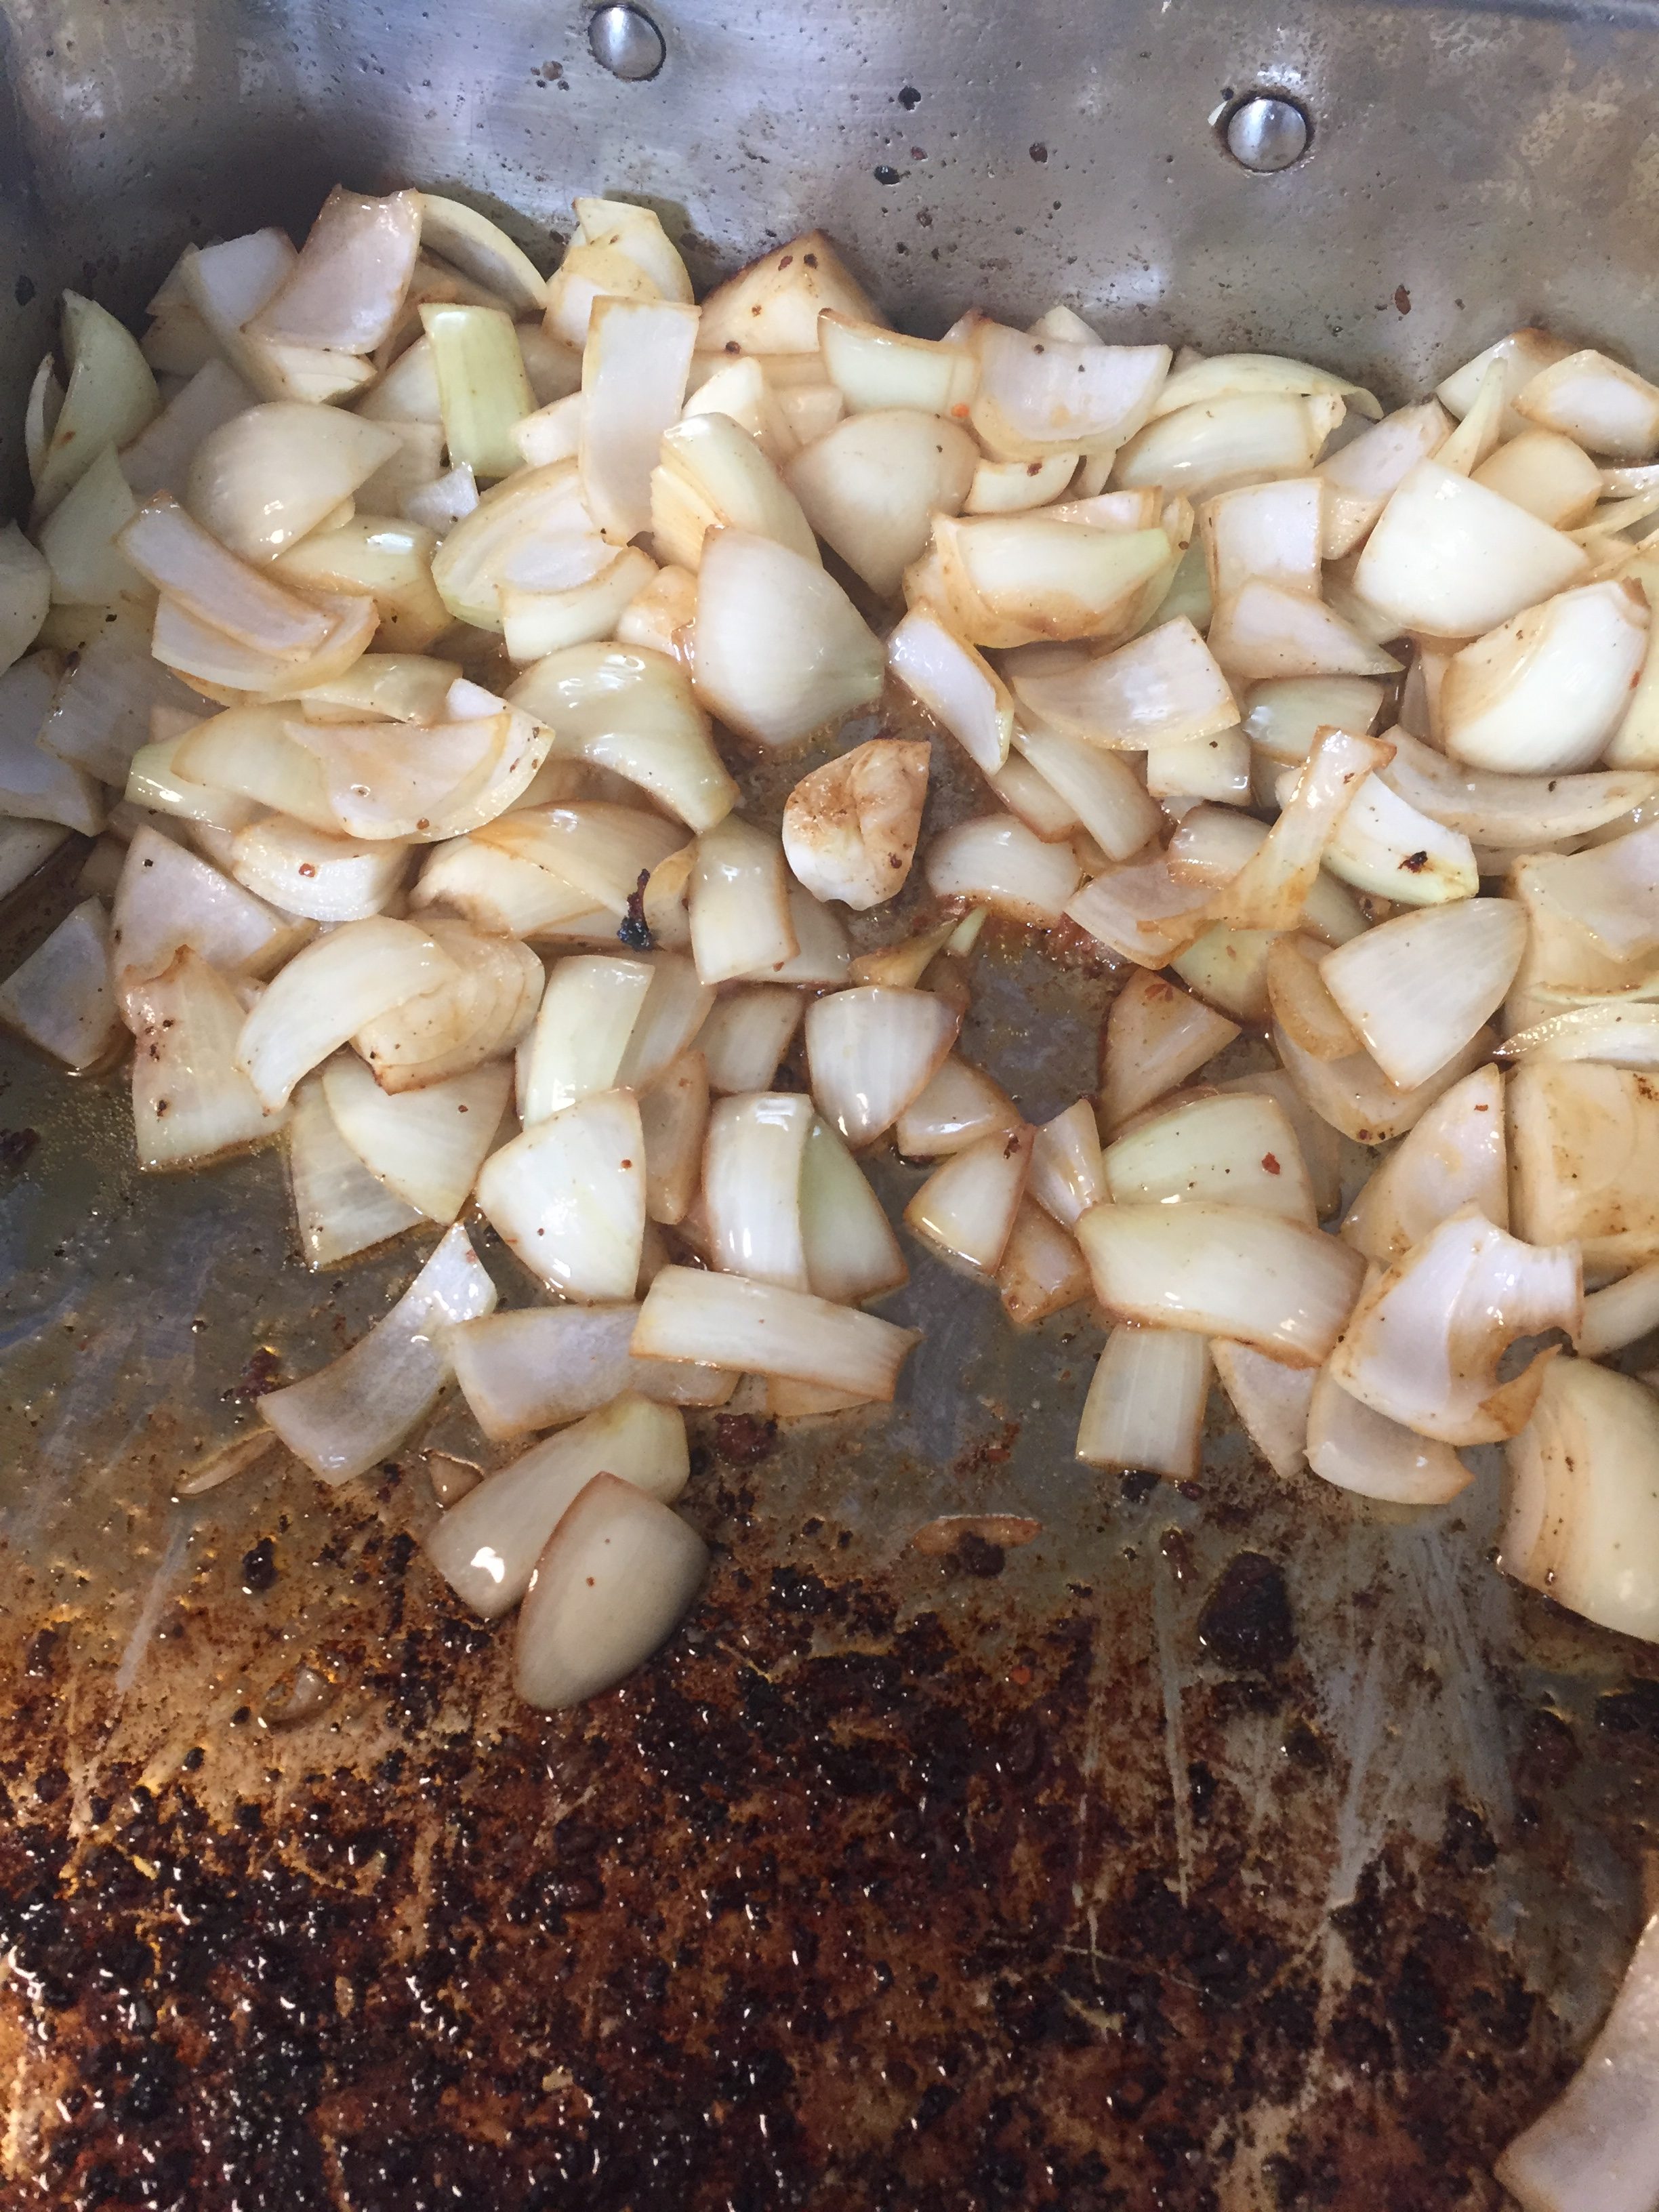

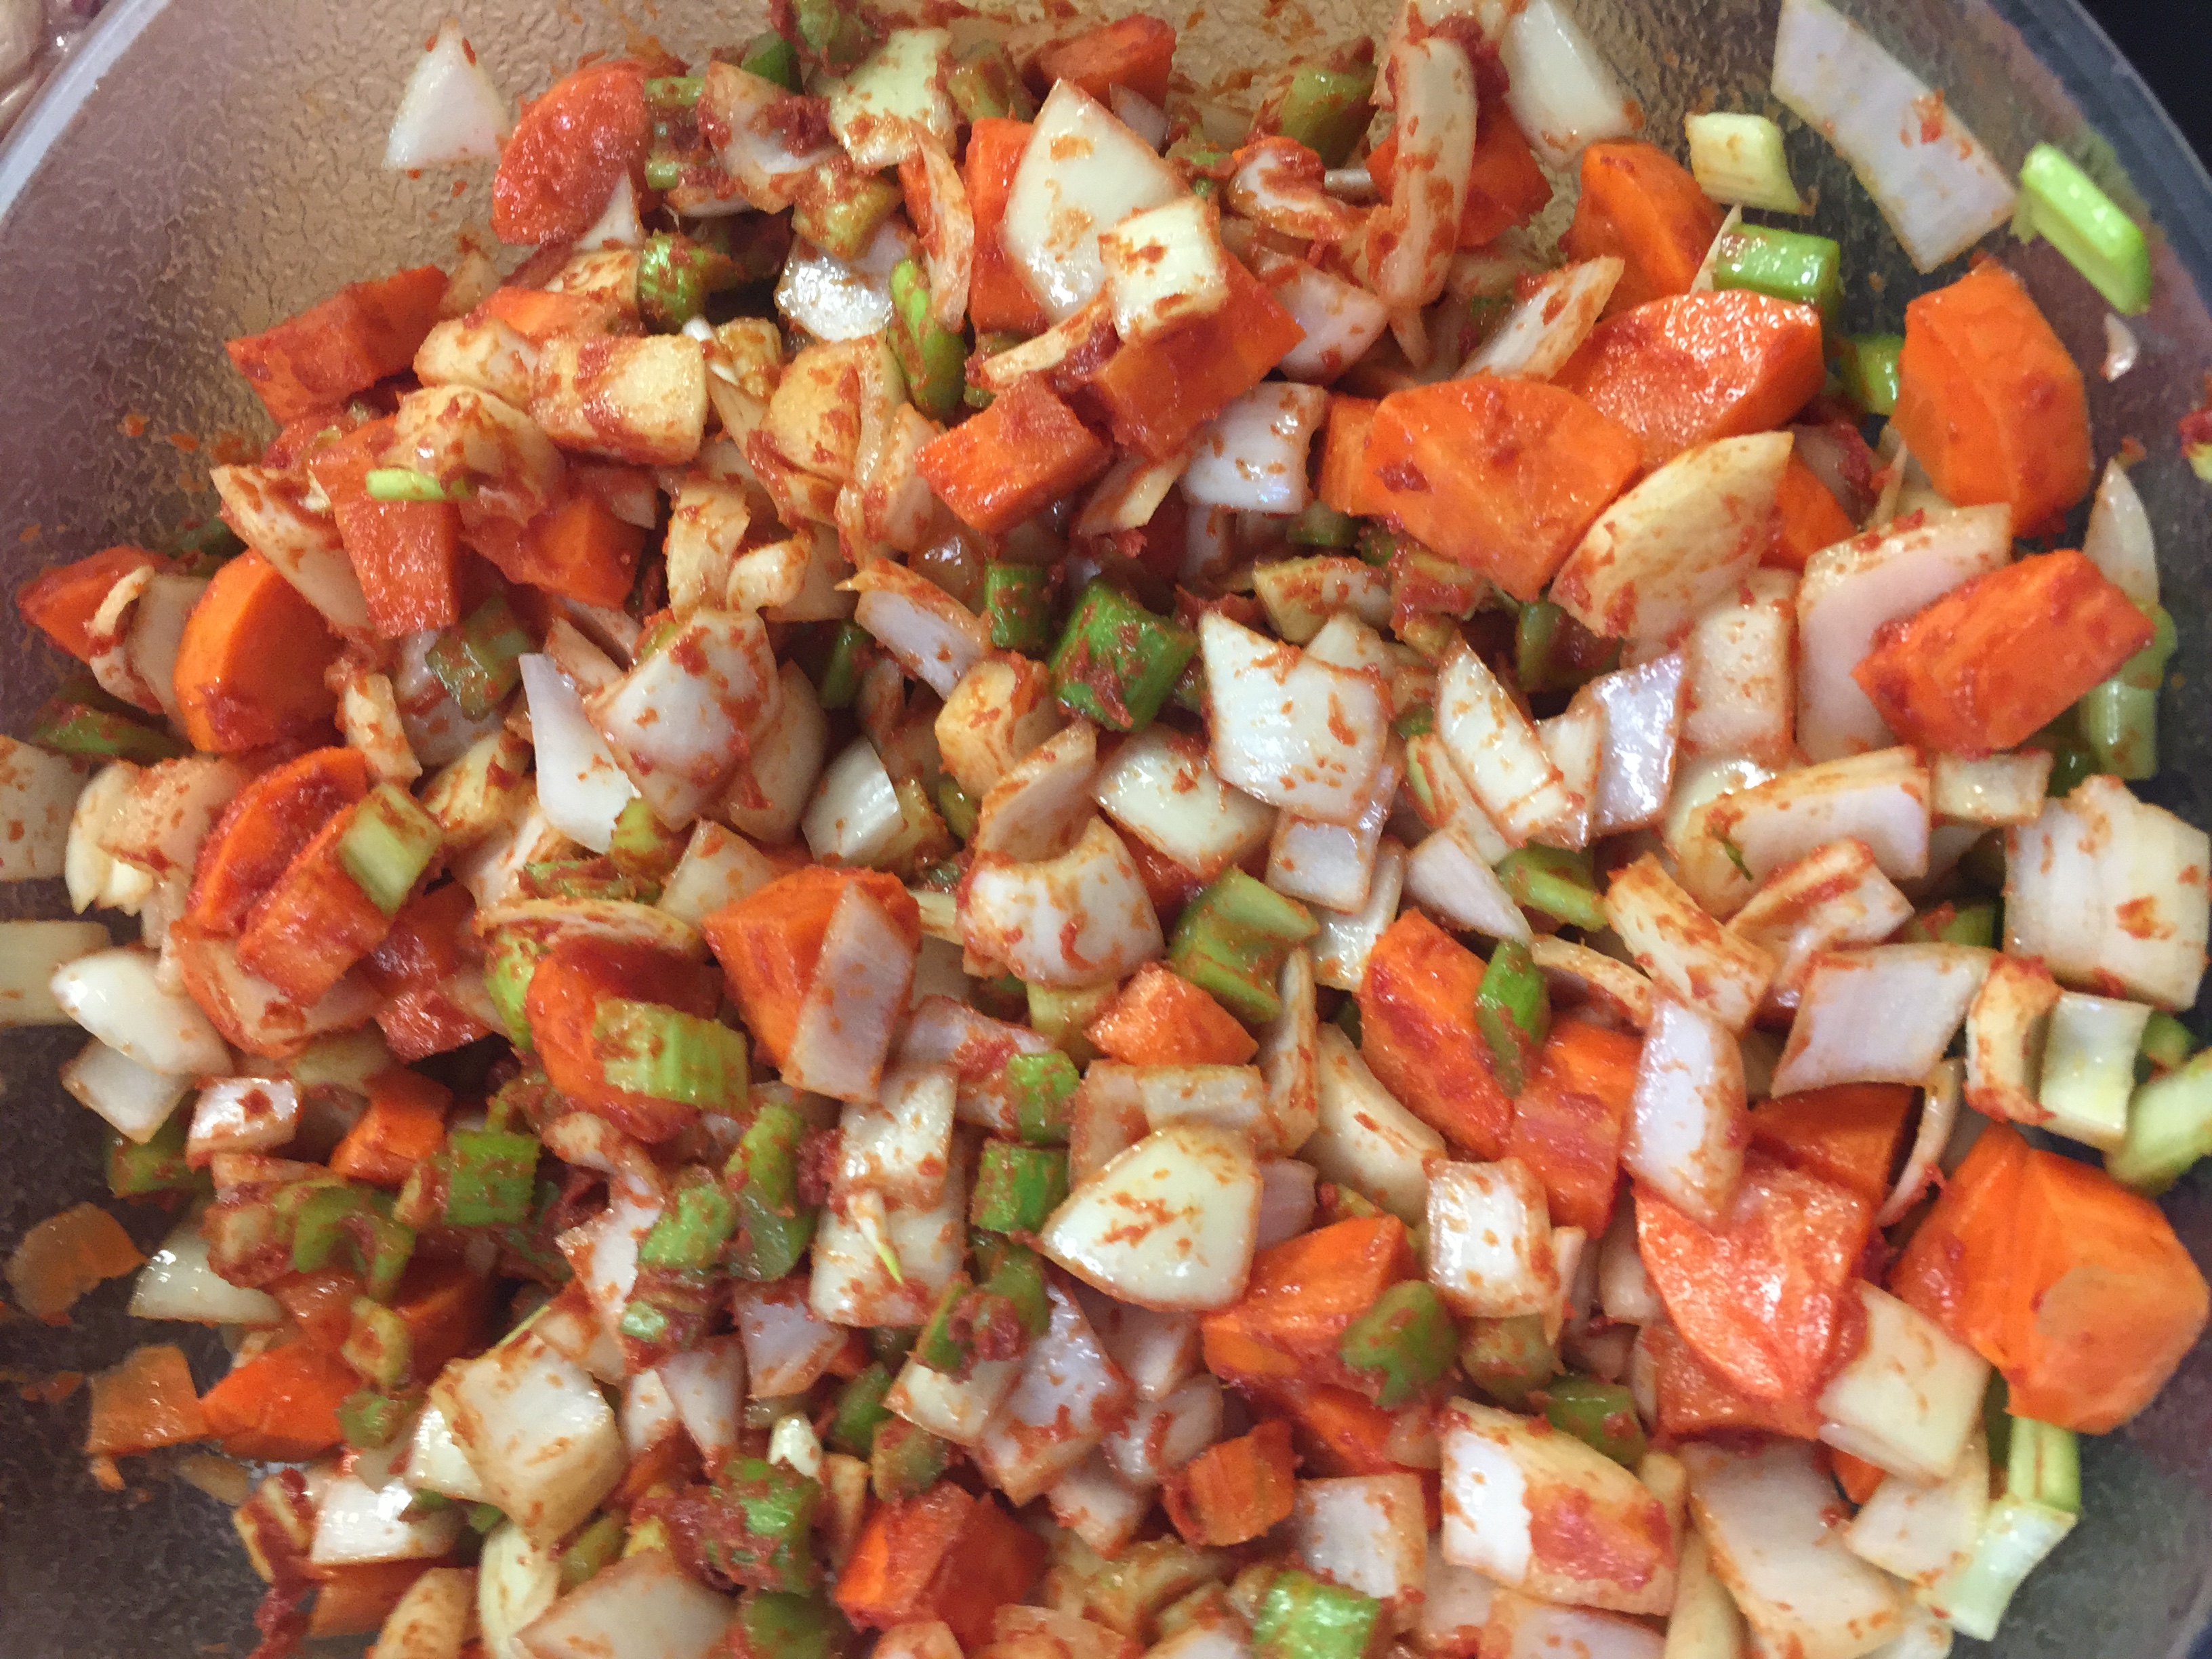
For the mirepoix I use approximately 6-8 peeled carrots depending on size (3-4 if they’re jumbo), the outermost sticks of a large head of celery and 4 to 6 onions. The roasting pan is placed on the stove top across two burners and medium to medium-high heat is applied. The onions go into the pan first, are lightly salted and allowed to work for a while until most of their moisture is gone, the fond has broken loose and they begin to take on some color of their own. Once everything is free of the bottom, I’ll shut down the heat on one side and allow the rest to take place on the other side of the pan.
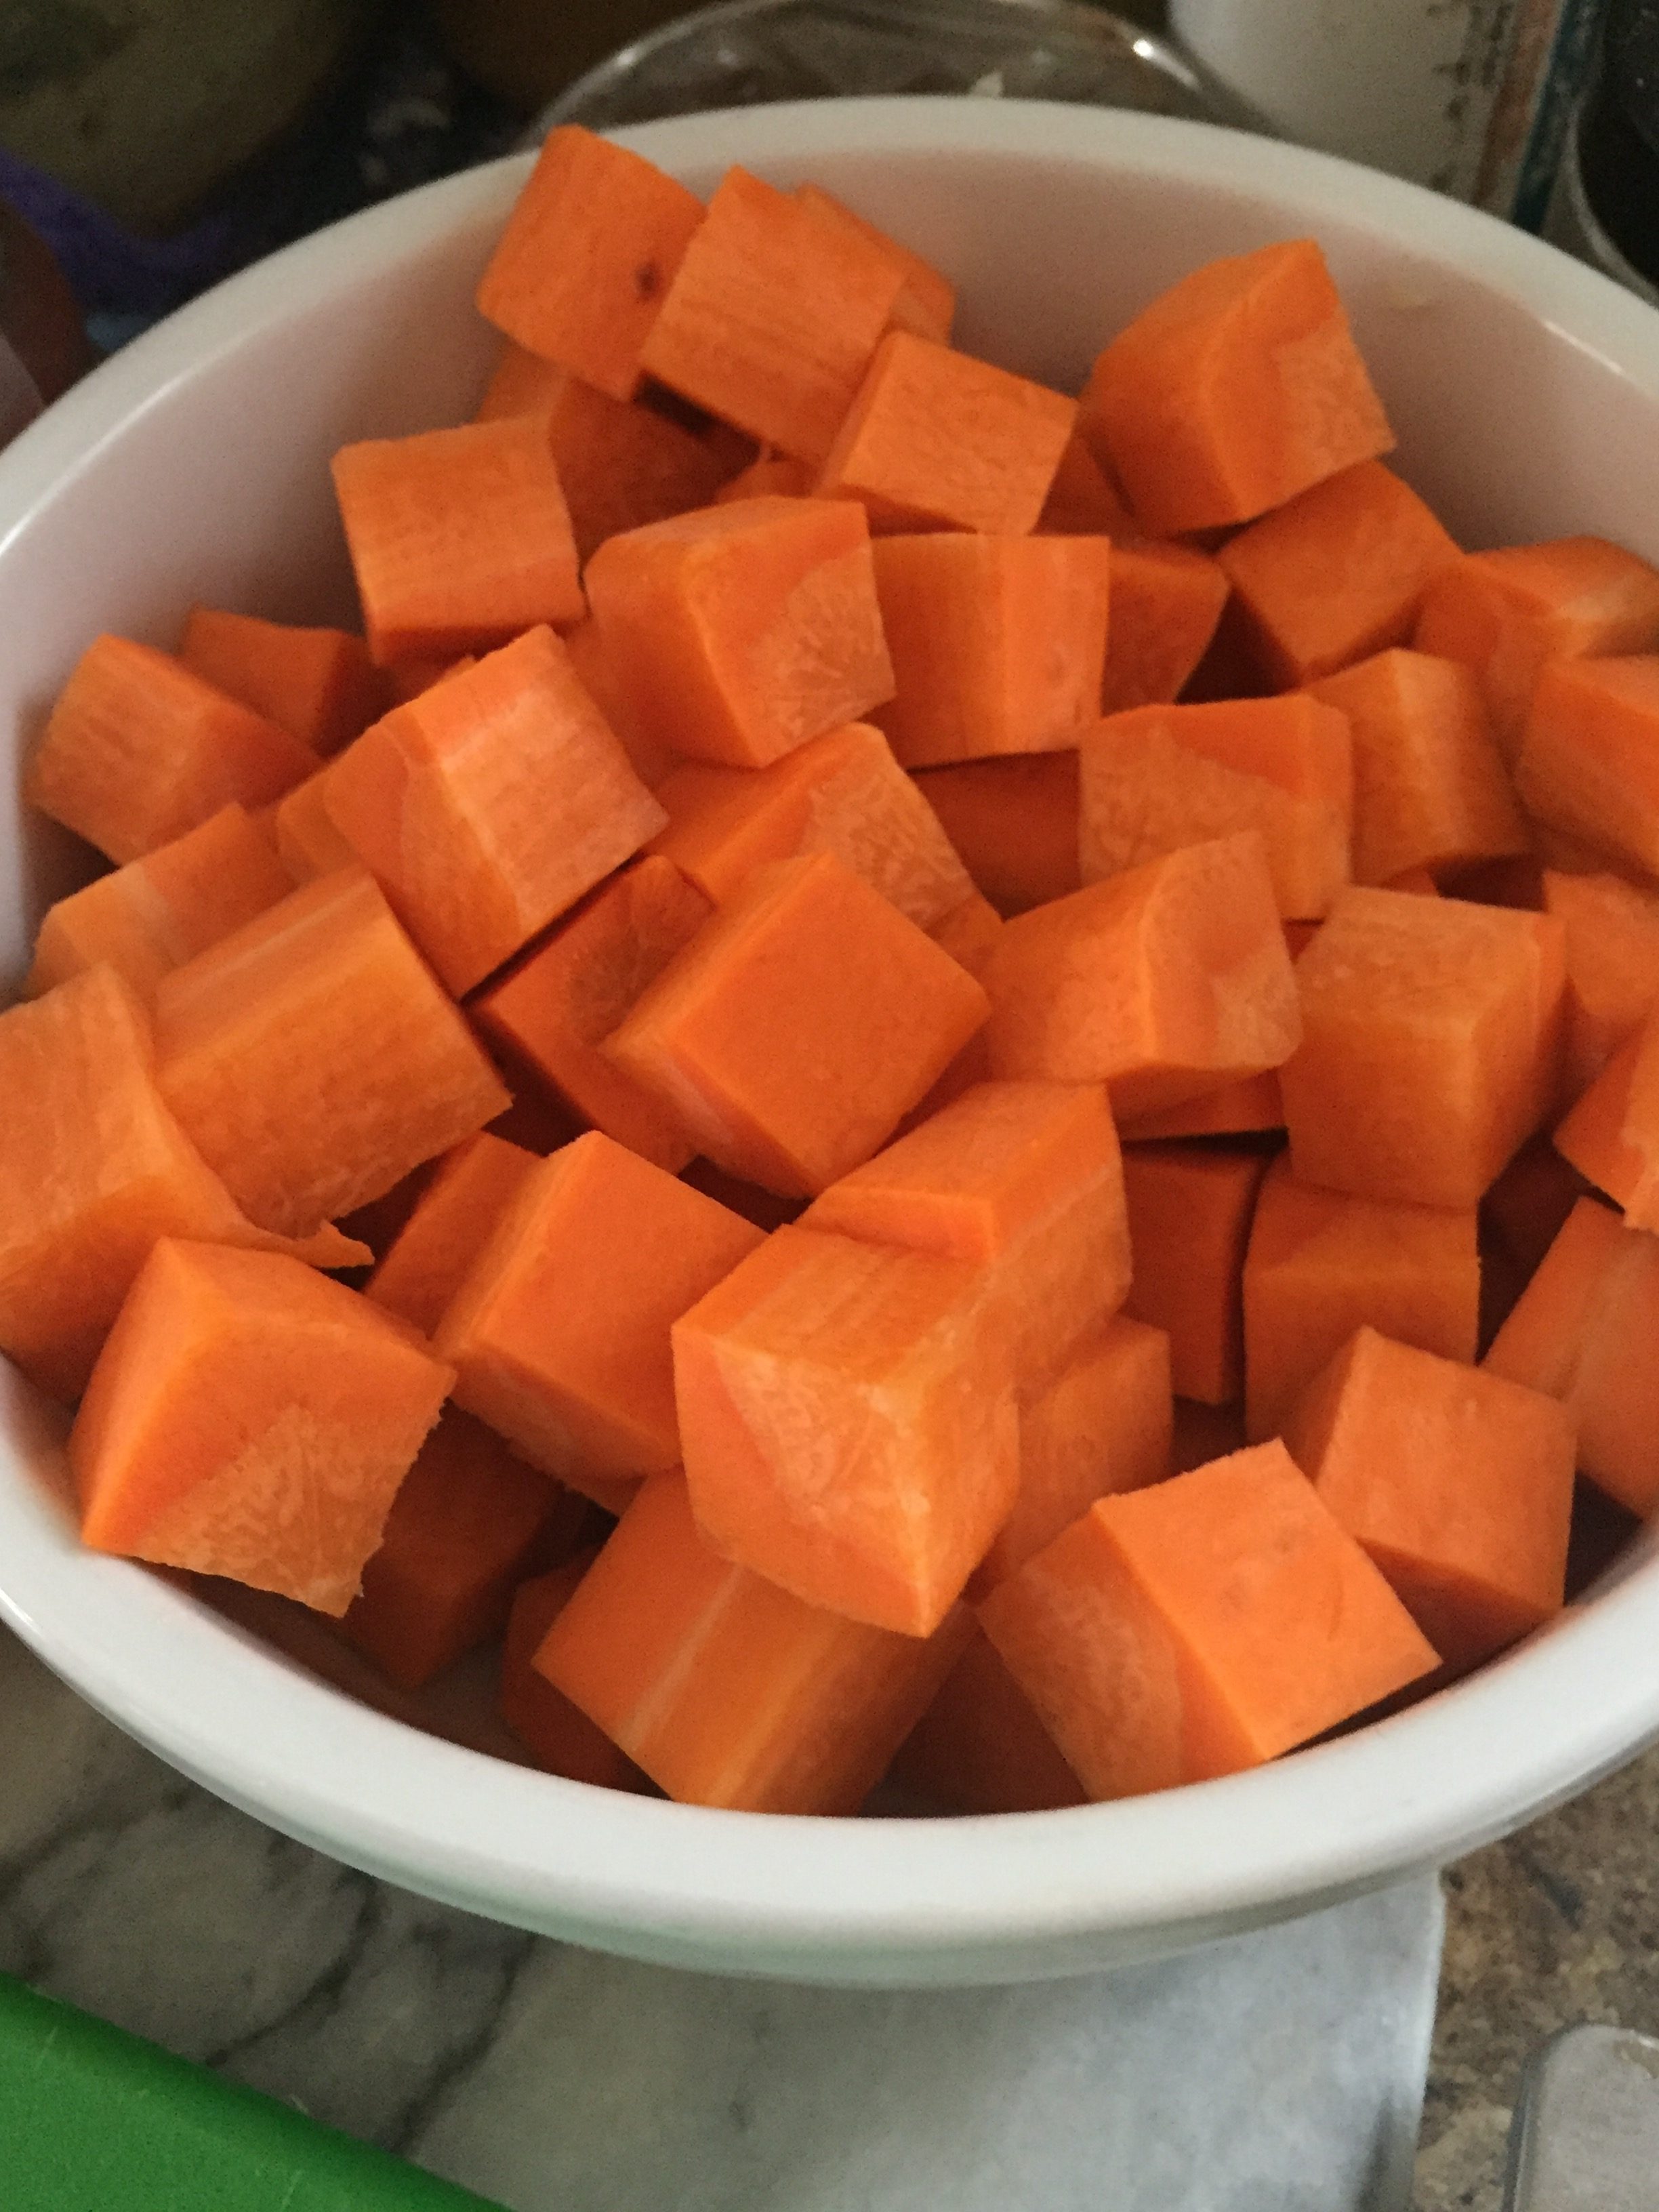
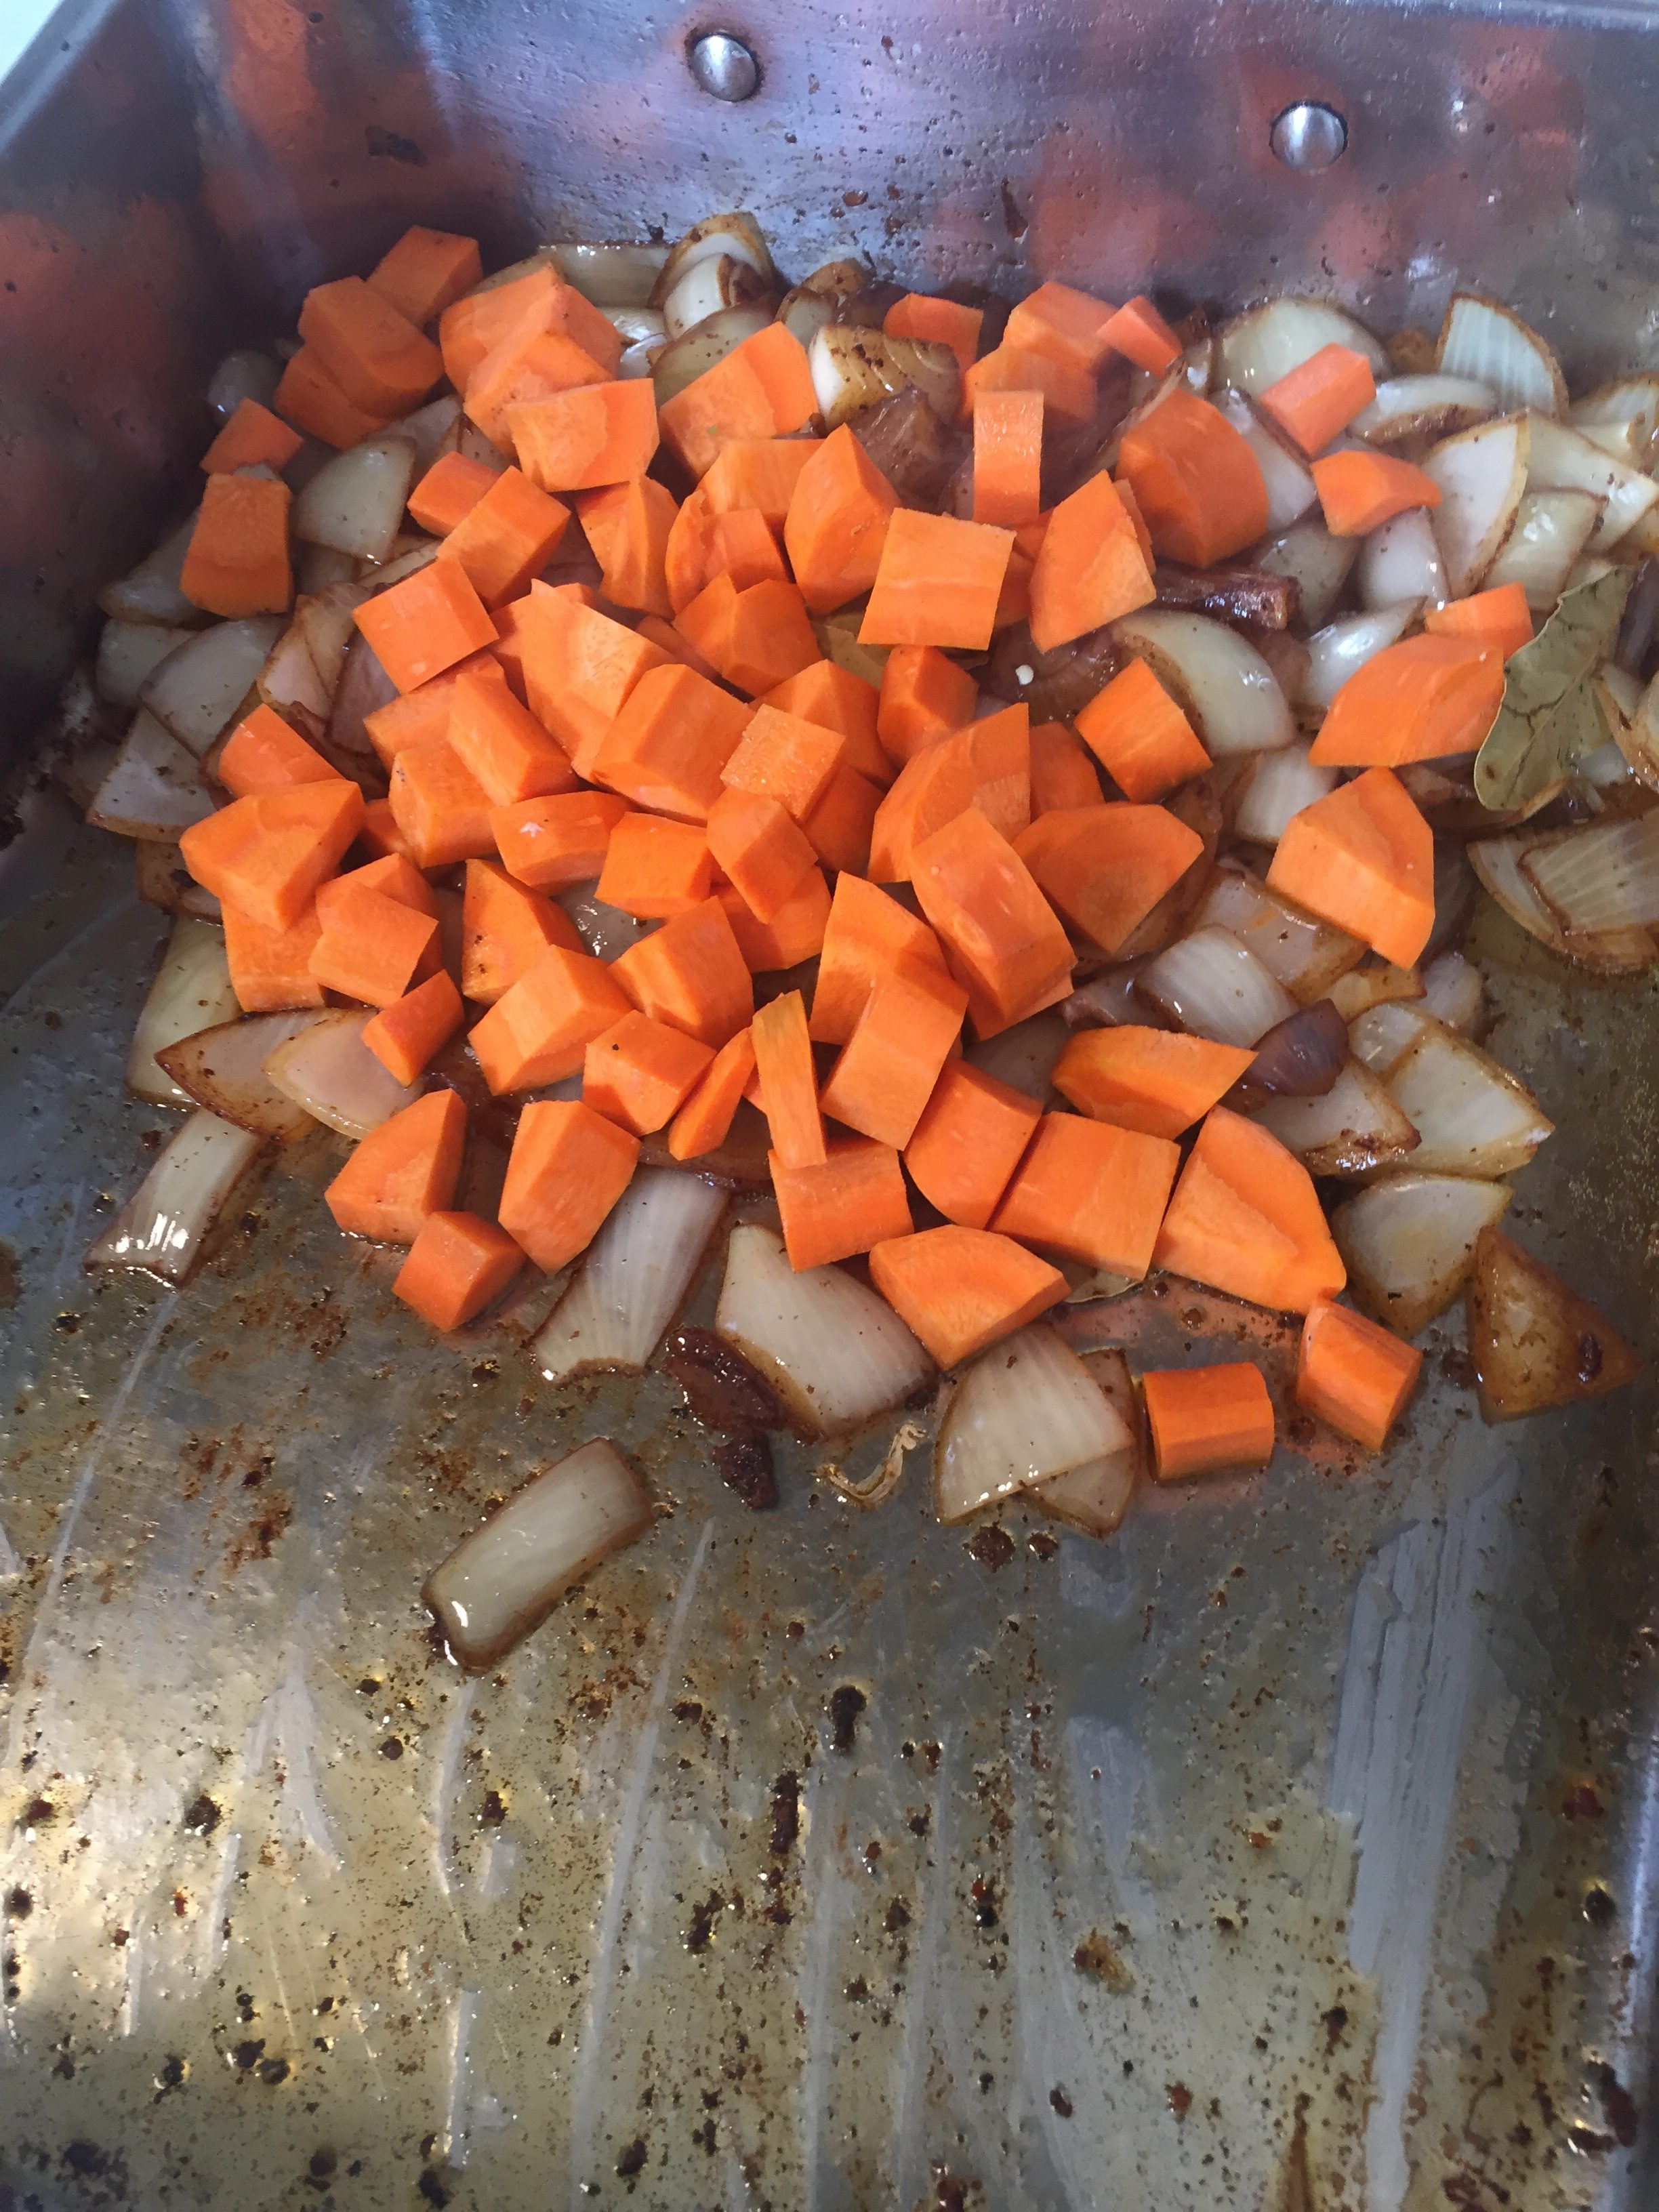
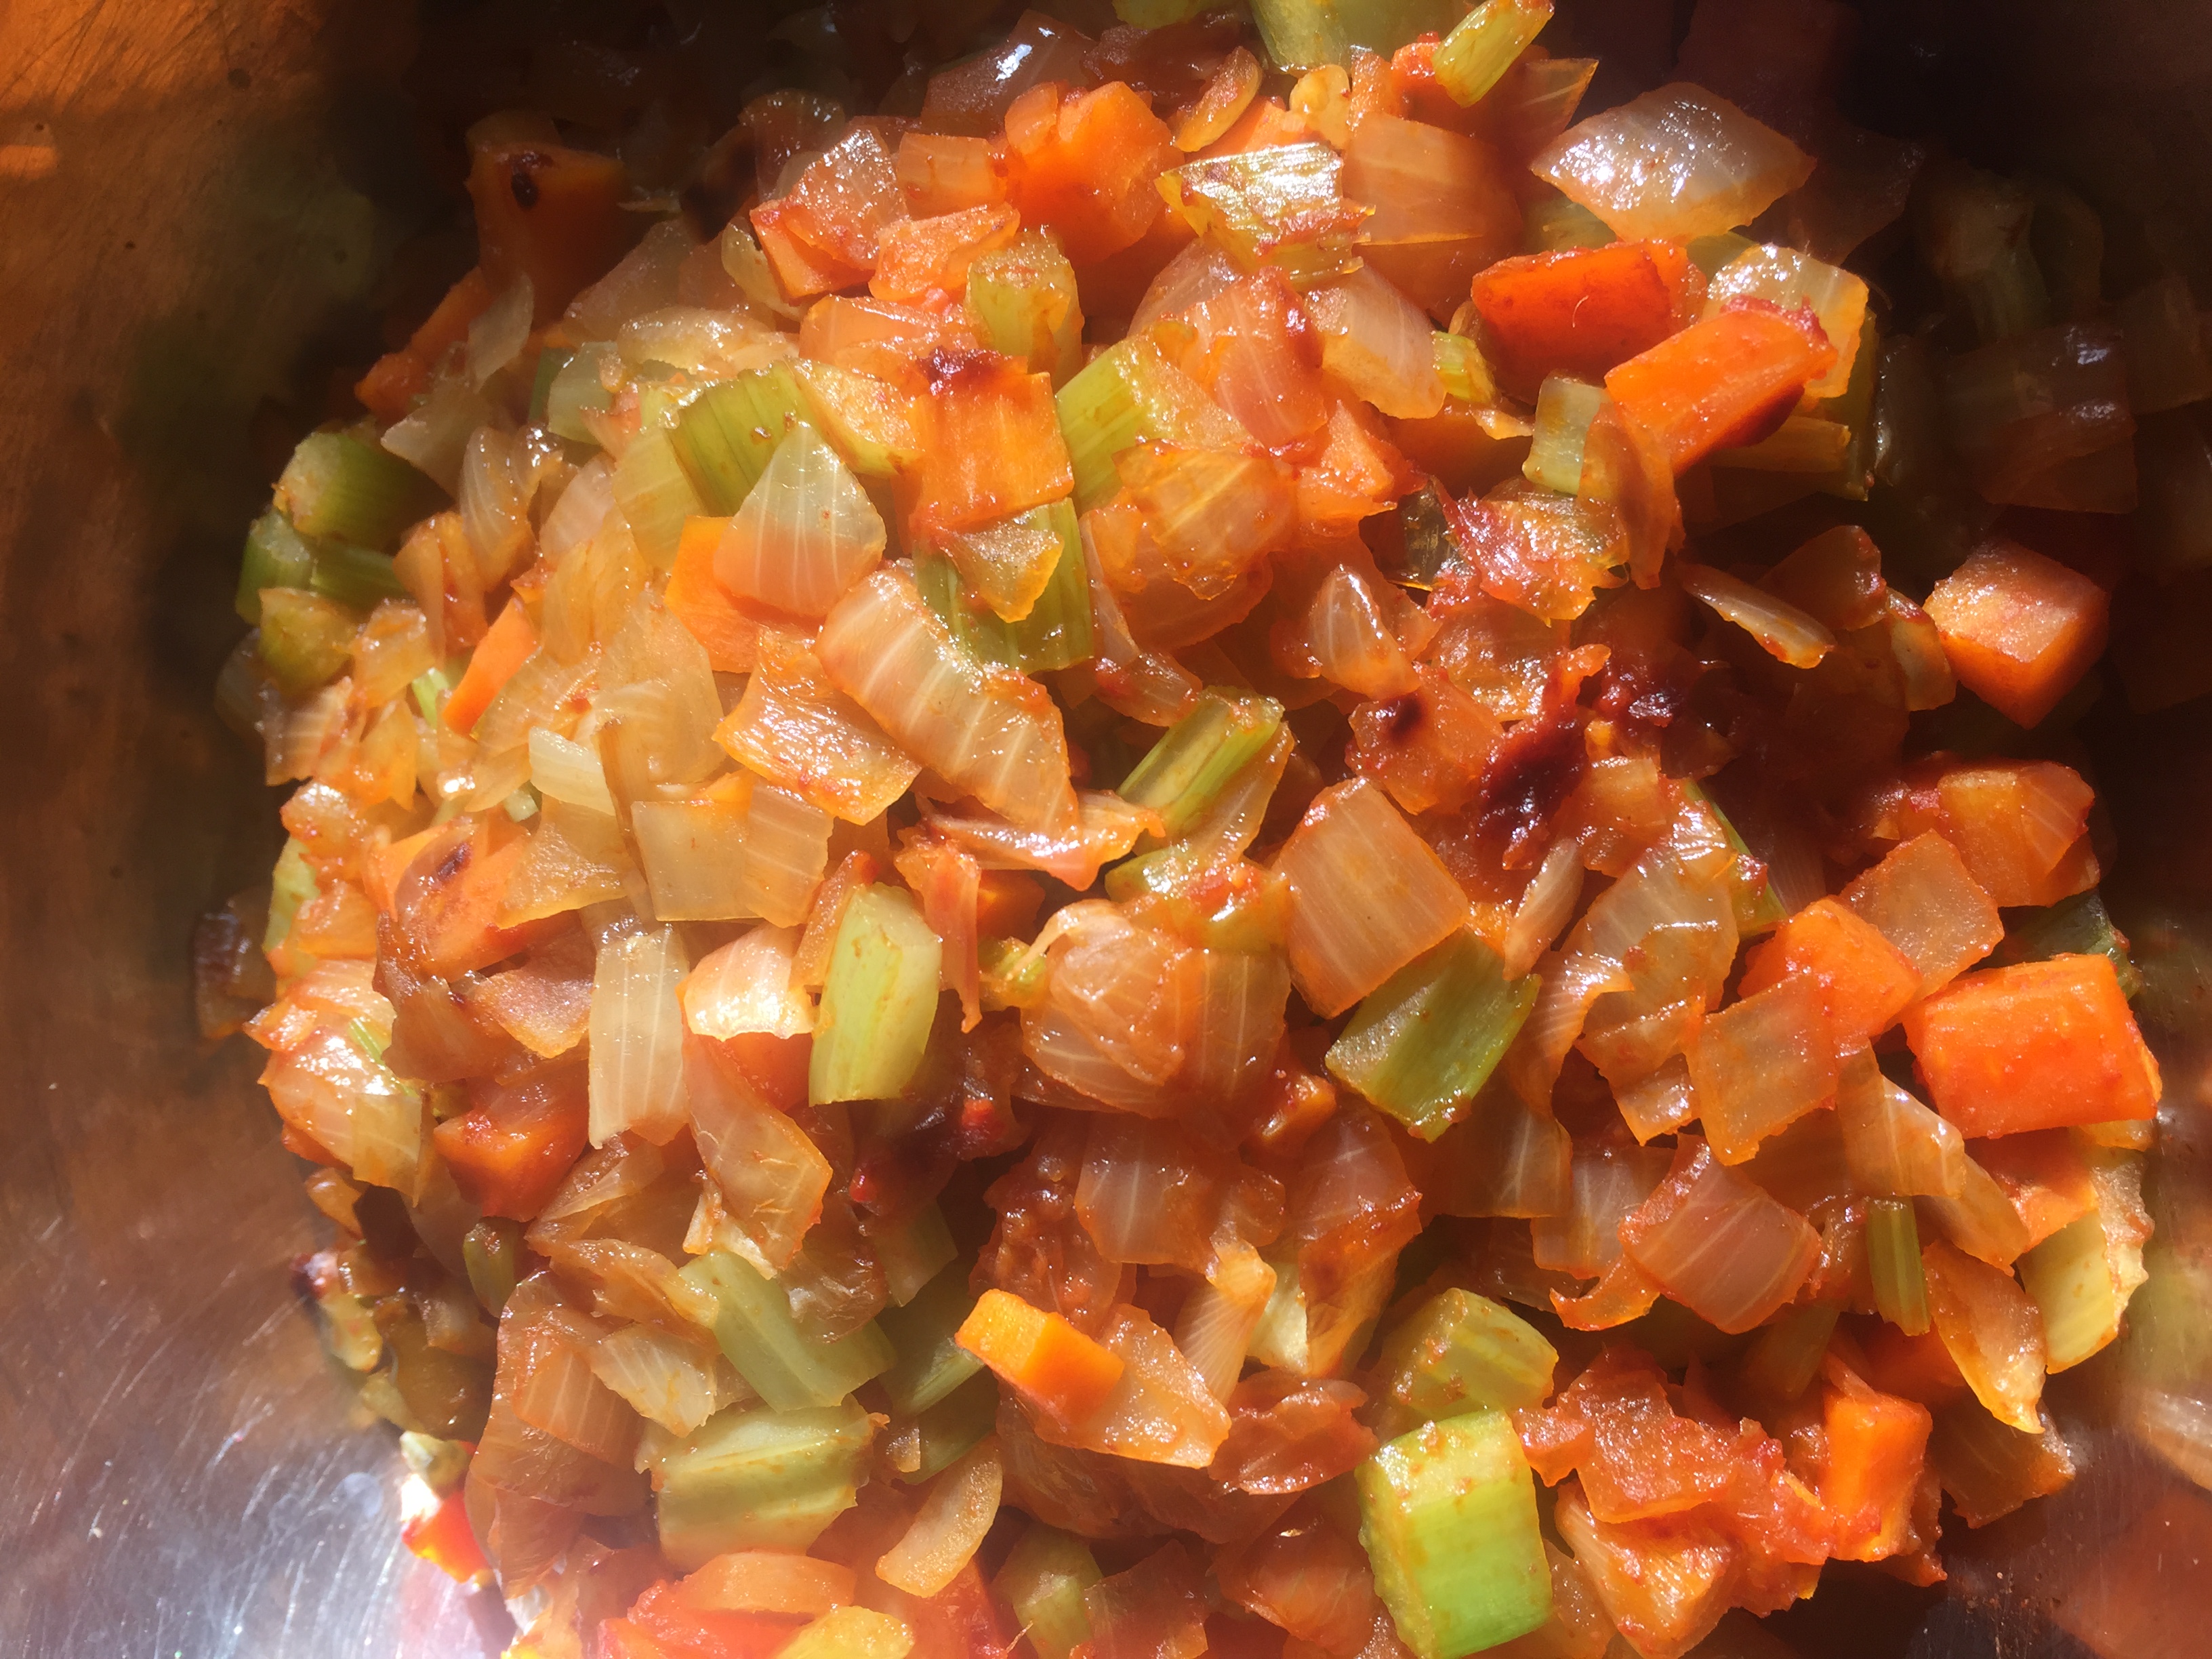
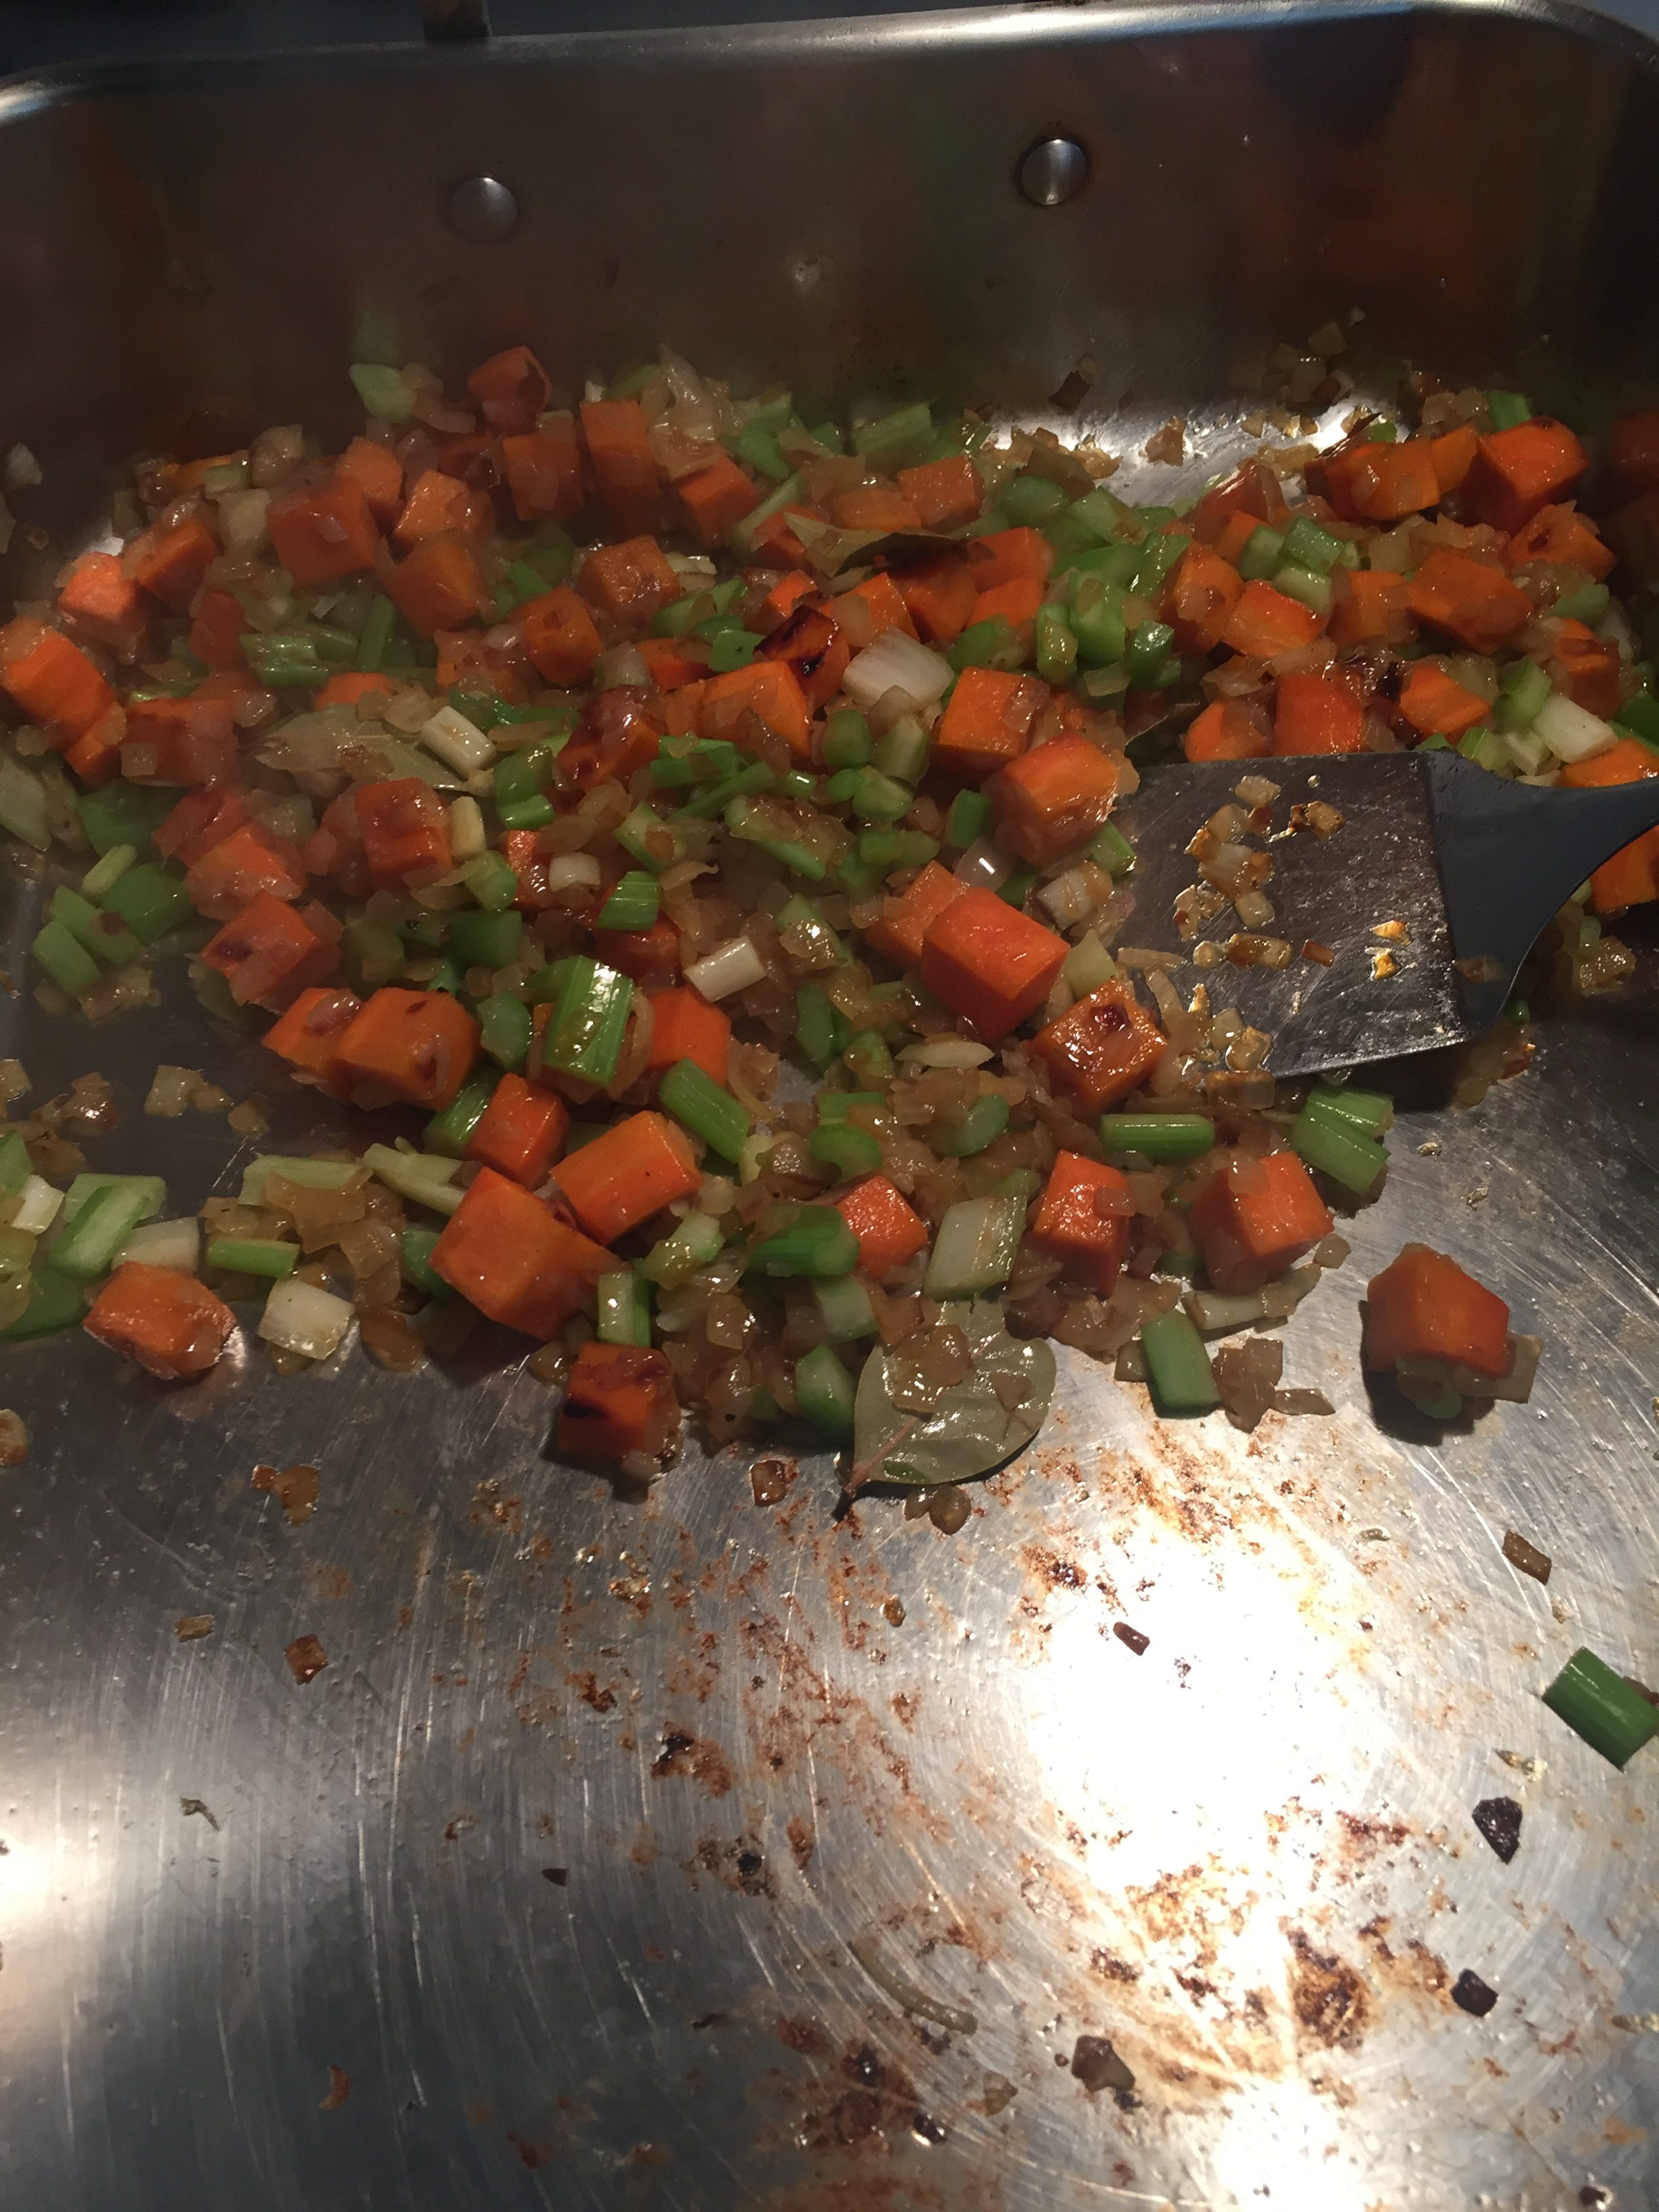
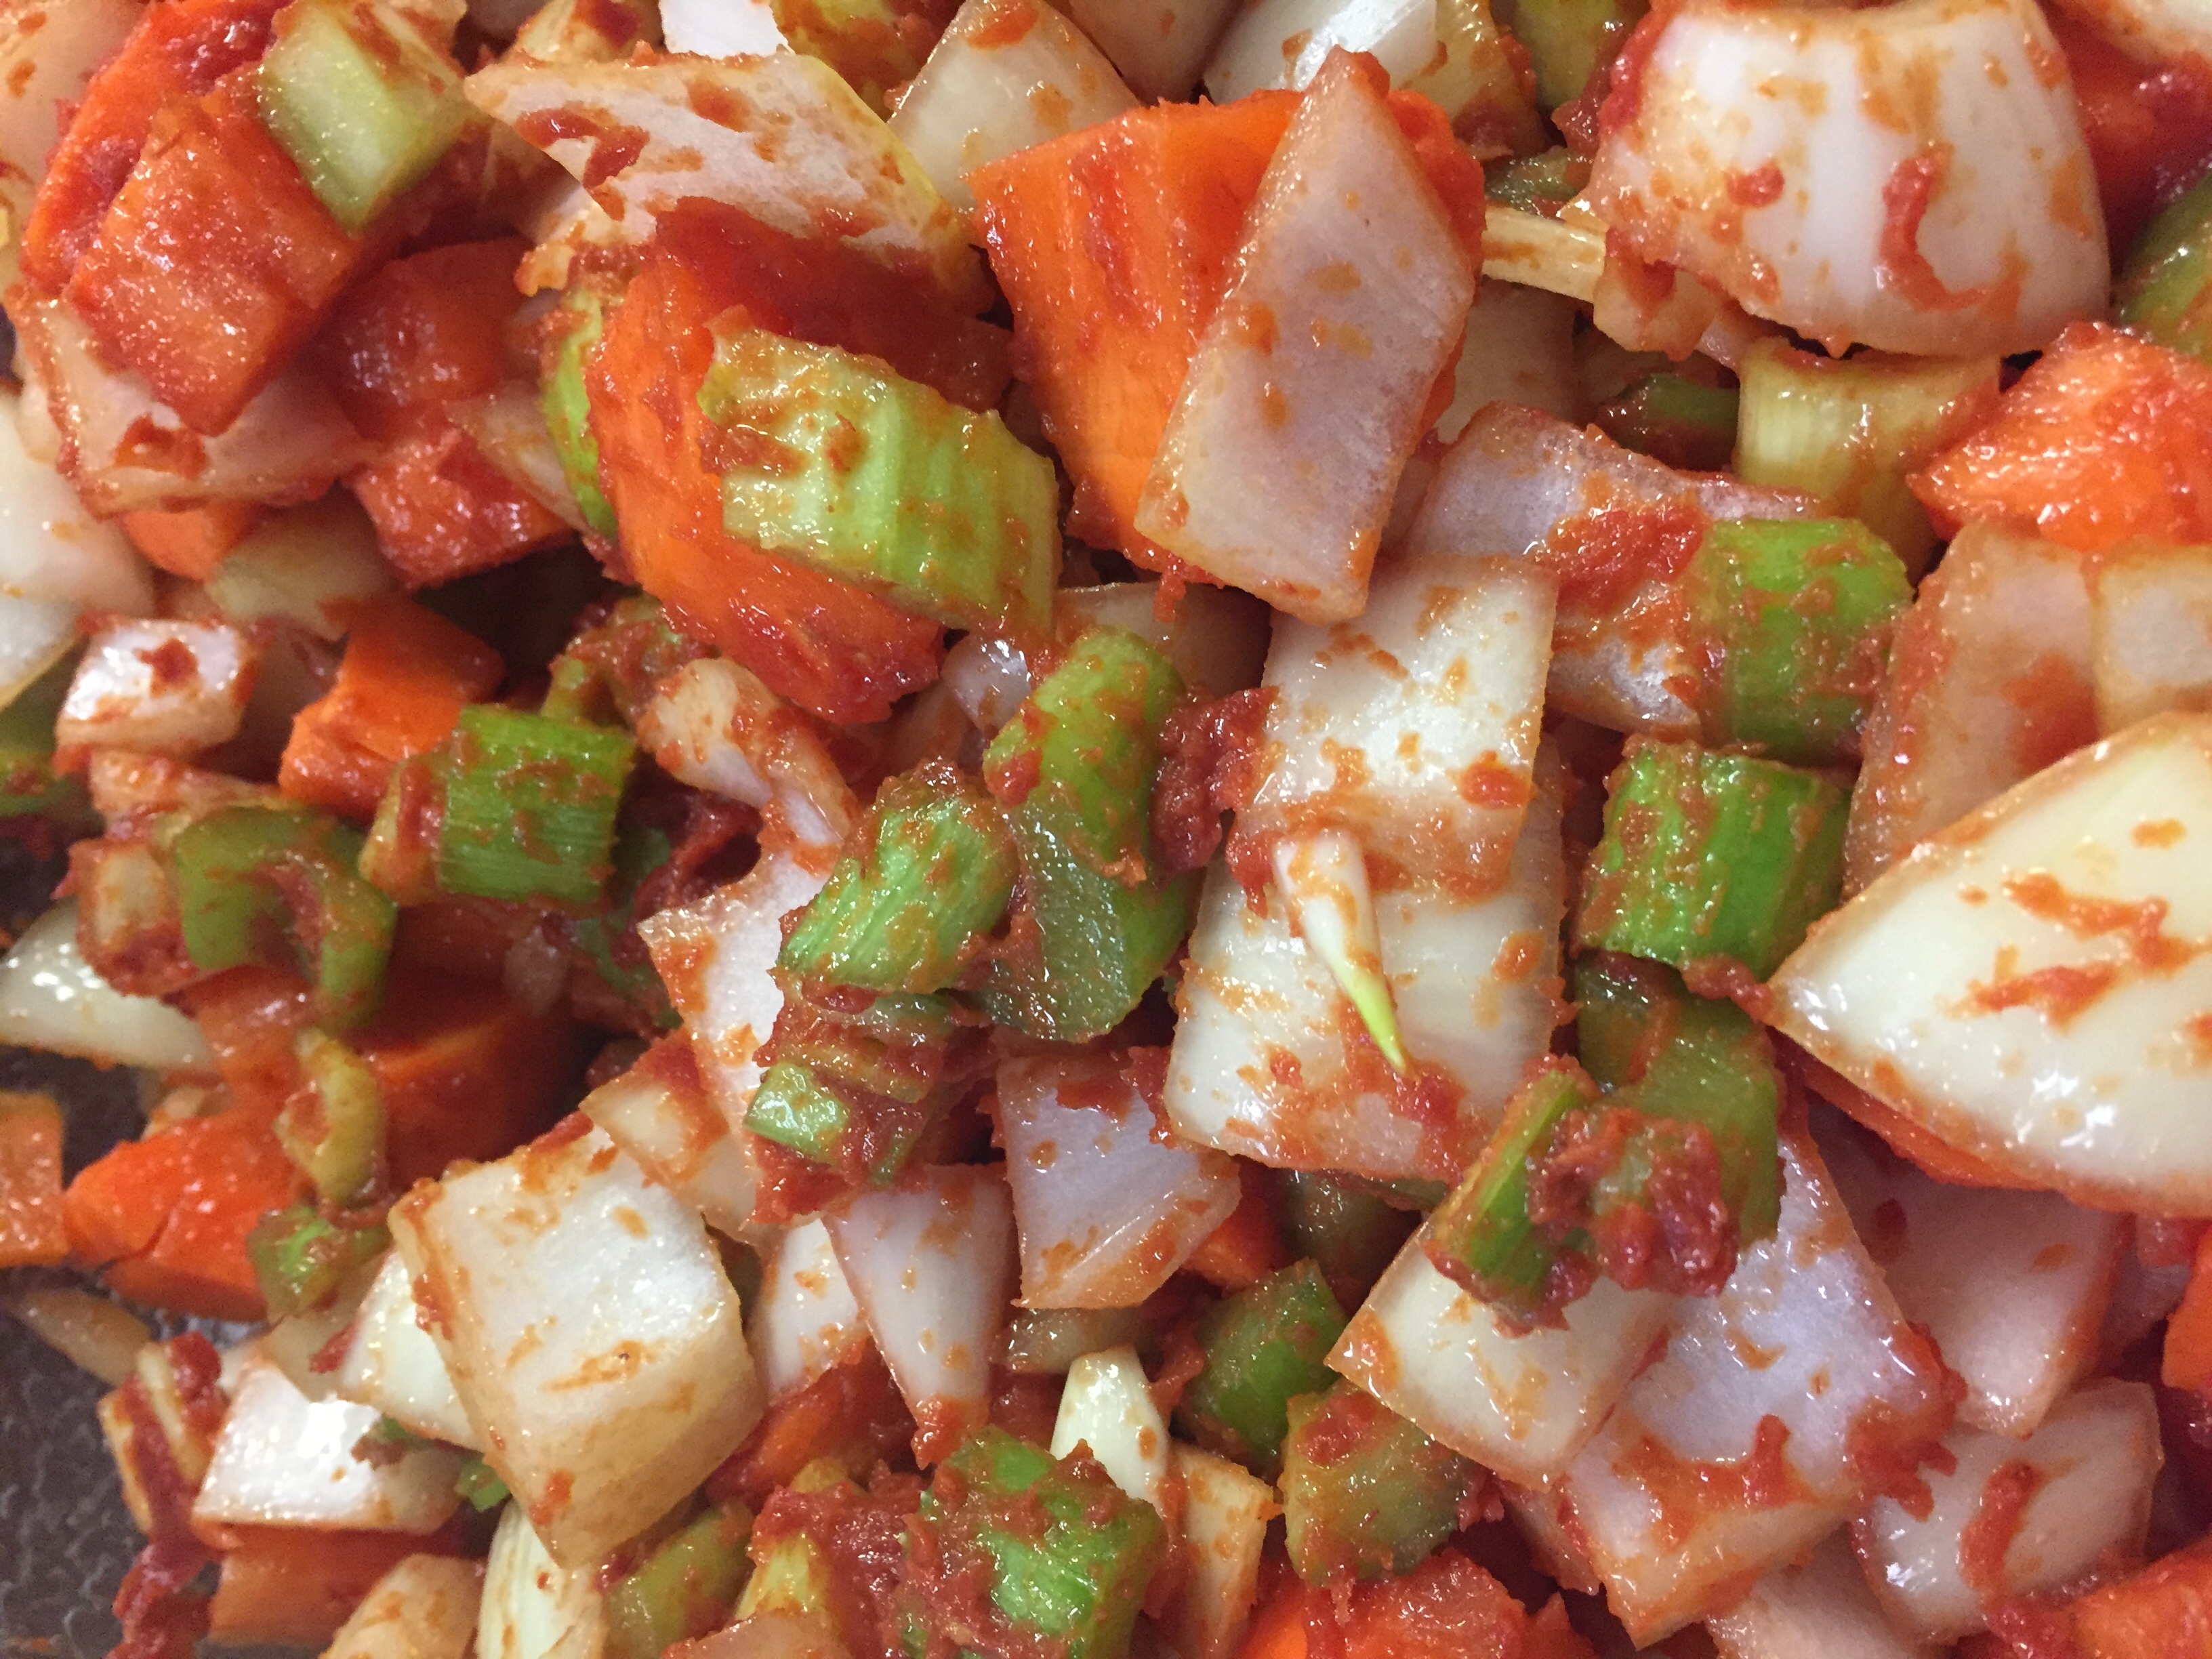
Carrots are then added and allowed to work for a bit – until they too begin to soften and take some color. Finally – the celery is added. It has too much water to actually “brown” under most conditions, so it goes in last and everything is worked as far as I feel like working it. You can brown the veggies to death if you want, though they’re going into a pot where they’re going to cook for hours on end so I find it of little necessity. We’re just trying to wake them up a bit. For beef stocks, or very dark brown chicken stocks, I’ll finish the vegetables with a few tablespoons of tomato paste. Cooking it down until it begins to scald and stick to the pan. Once again, it depends on where the stock is headed.
Bay leaf and black pepper corns often find their way into every batch. About 3 or 4 leaves and roughly 10 to 14 pepper corns. I don’t spend a lot of time throwing expensive herbs into the pot as after boiling them forever their effect is hardly noticed. I will add onion skins – even though some chefs would dive out of a window at the thought. I also add garlic skins along with all the little cloves of garlic that I’m too lazy to peel. If I have any spare bones from some one-off meal I prepared, I’ll usually toss those in too. Some parsley goes in if I have it. Some tomato tops or whole tomatoes are occasionally added, but that’s about it. I’m not making soup.
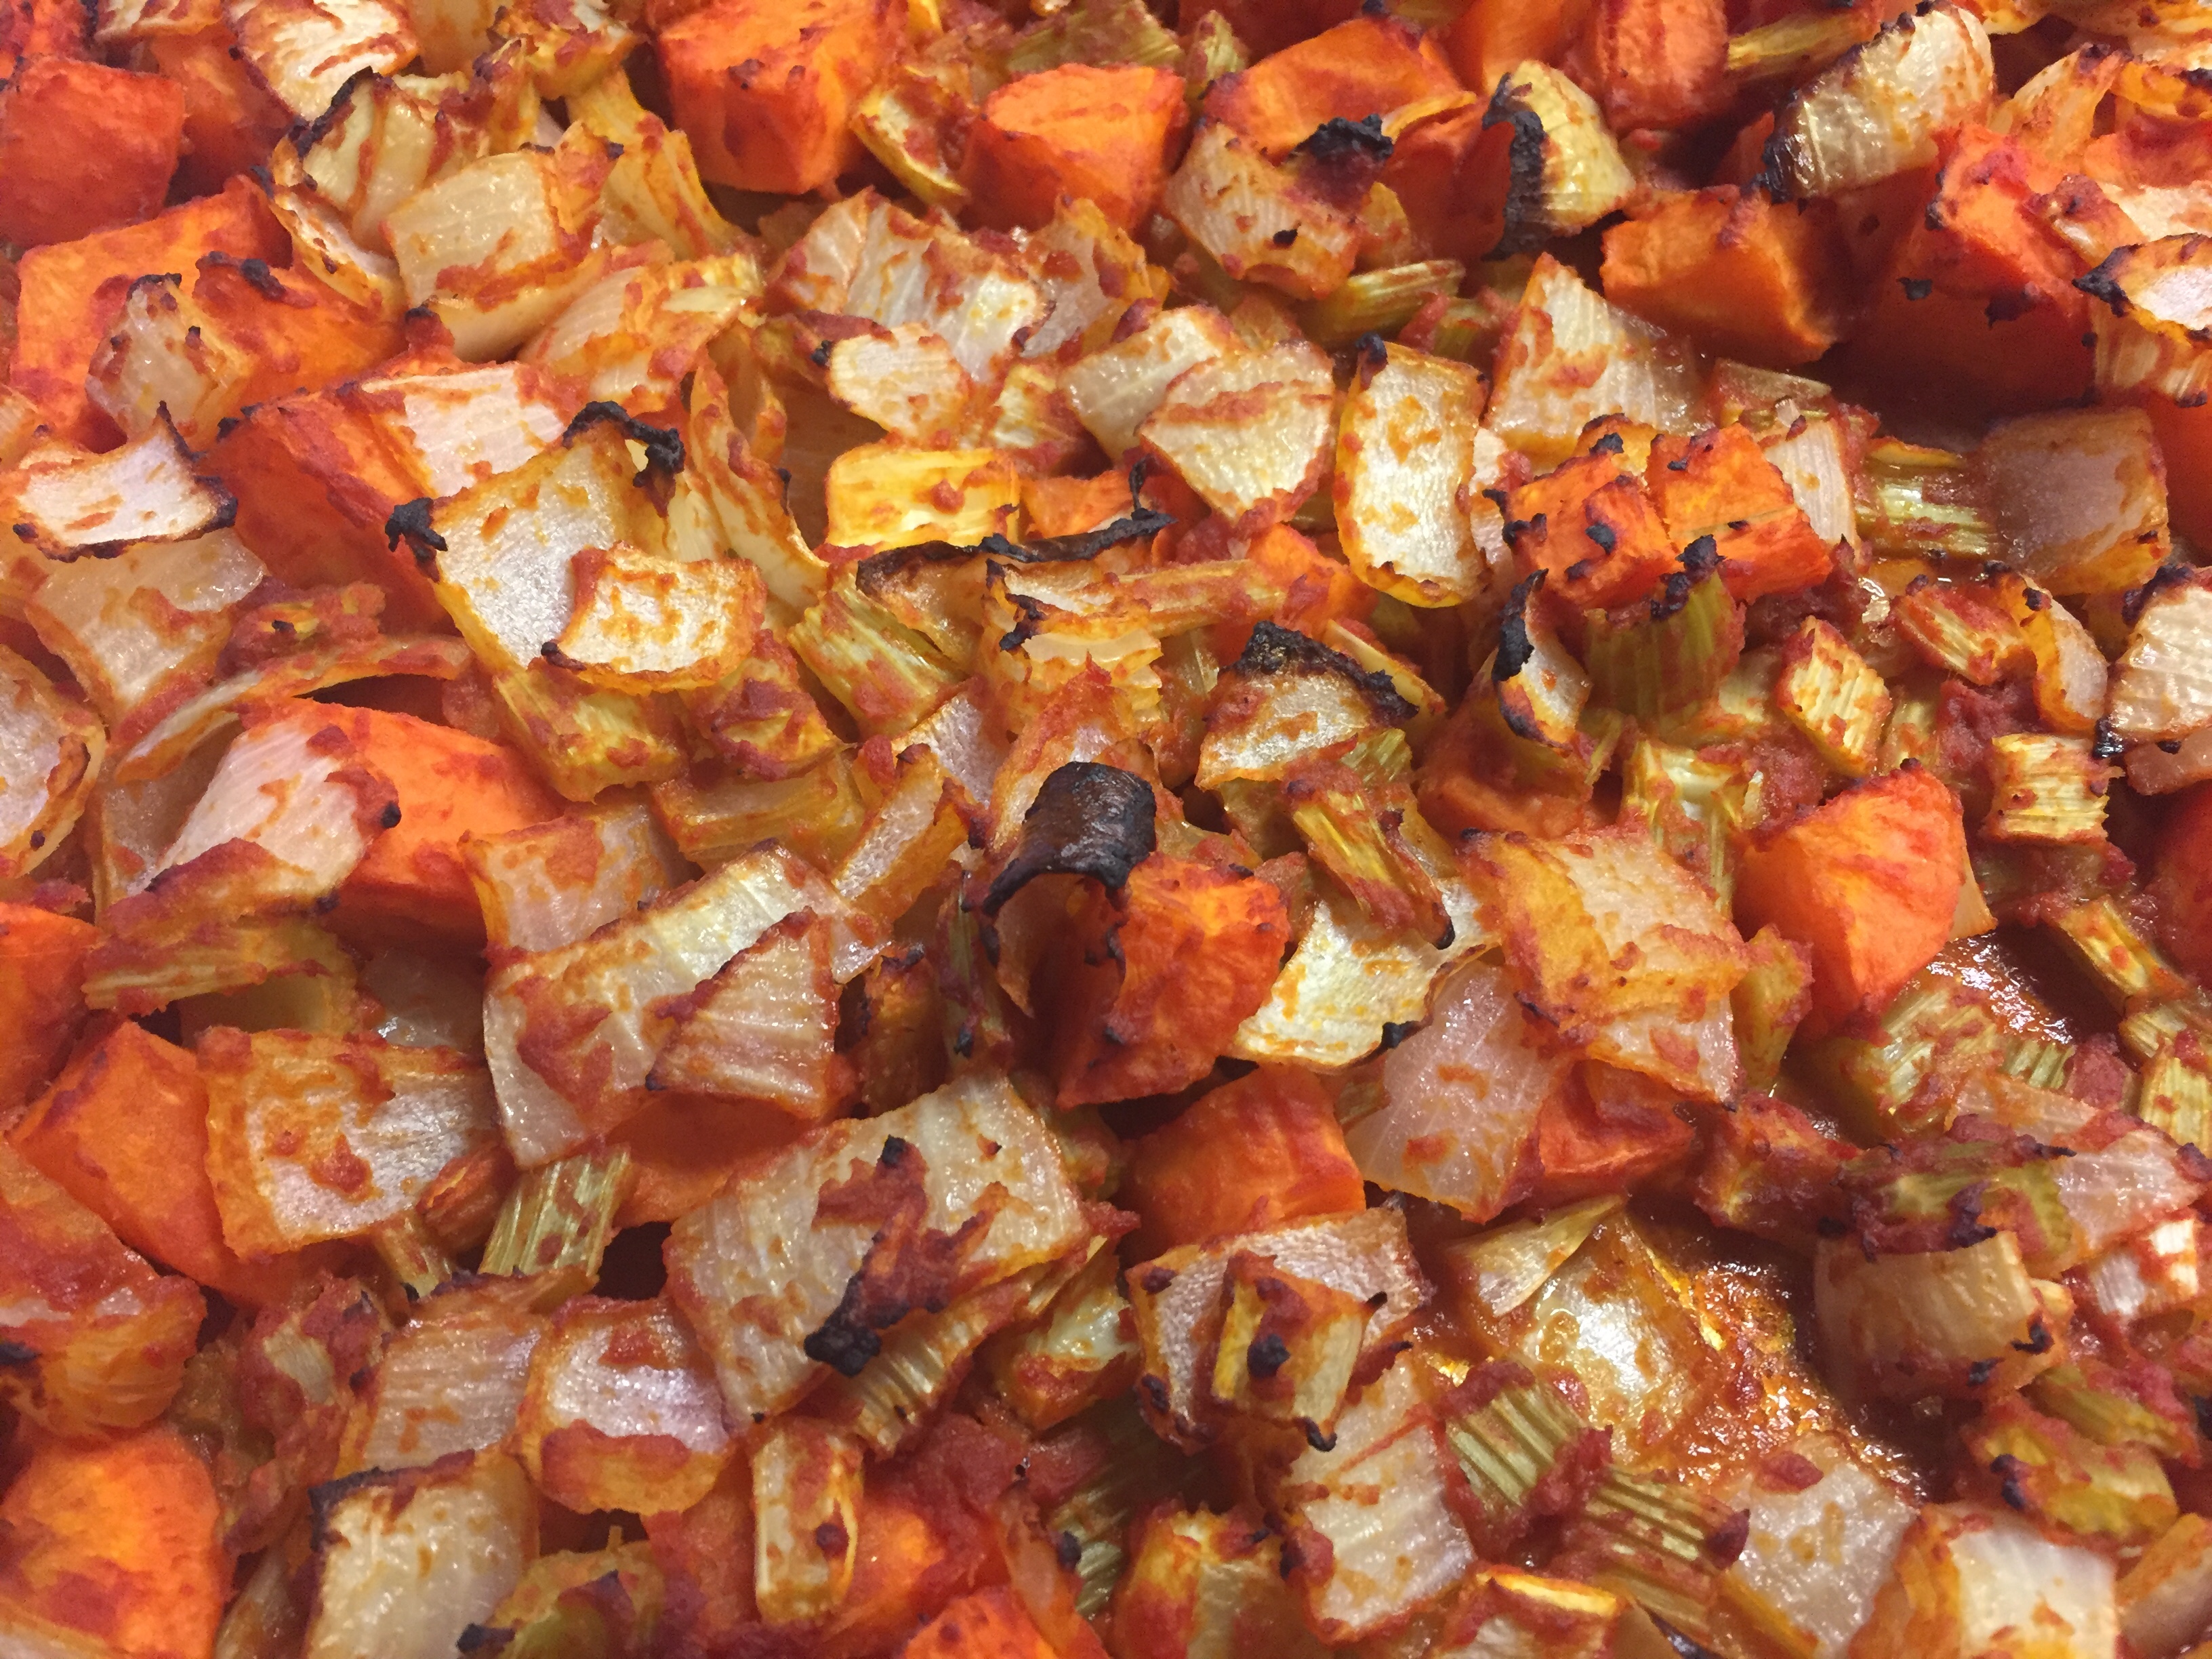
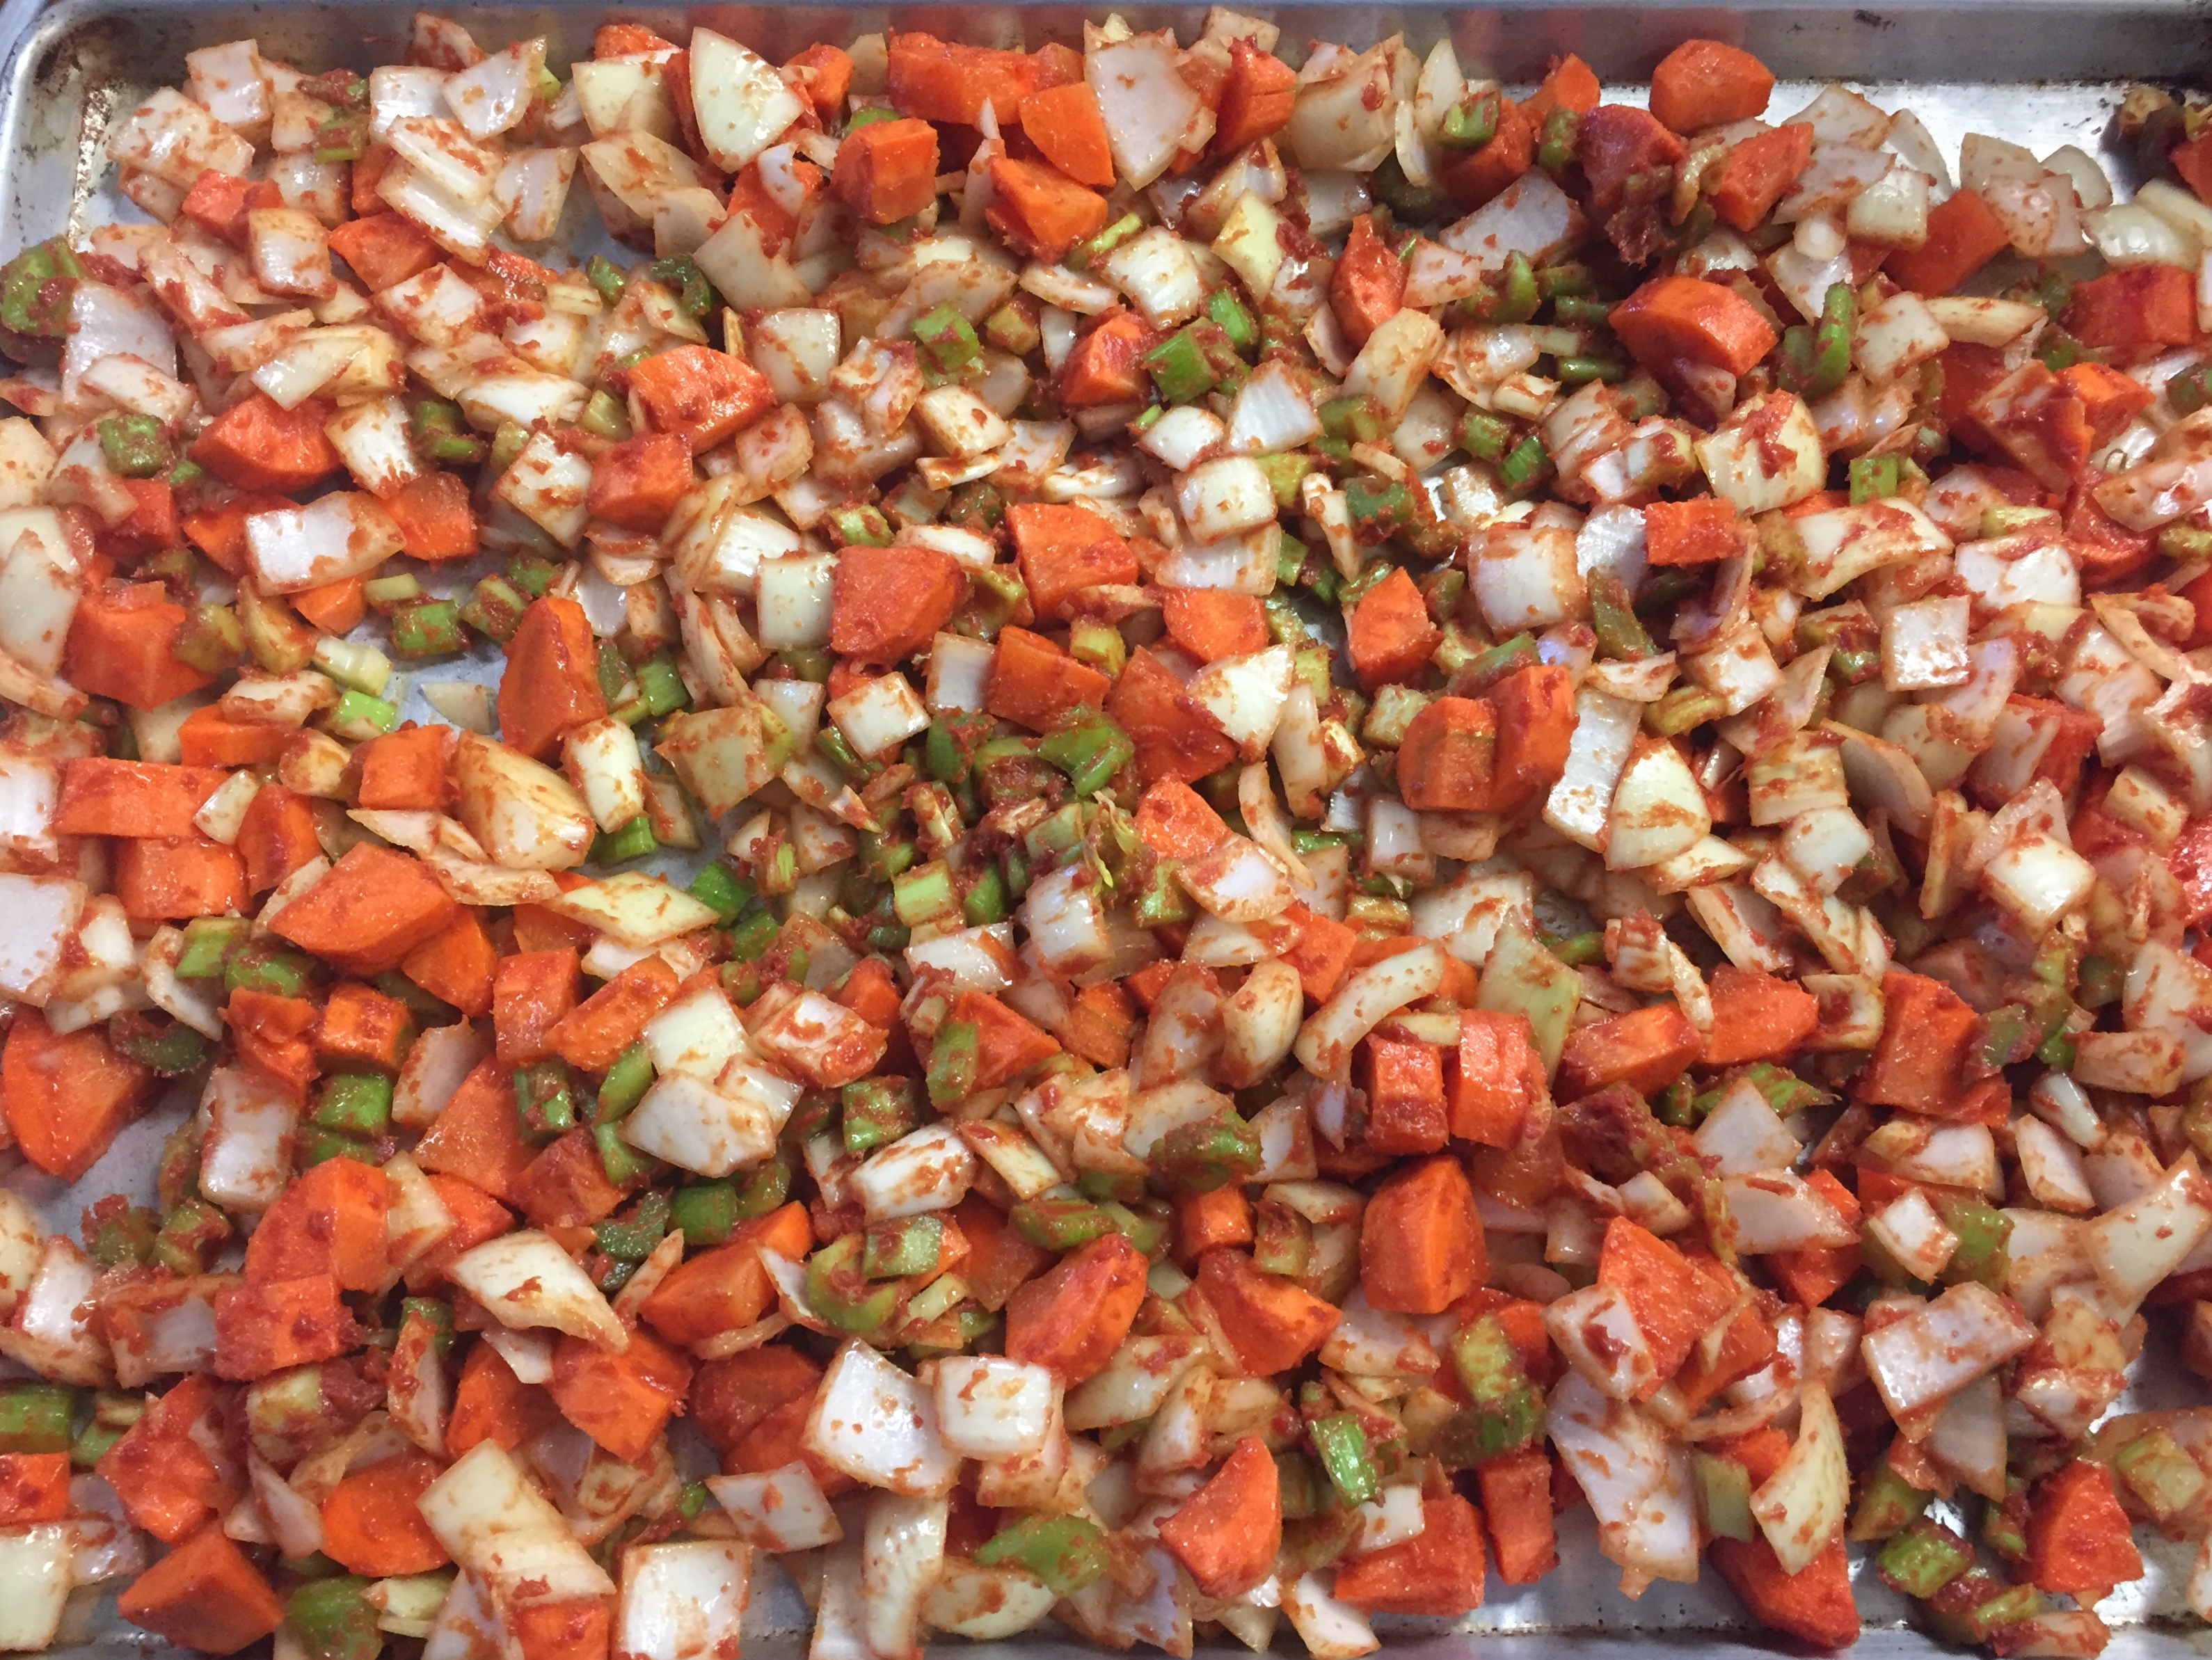
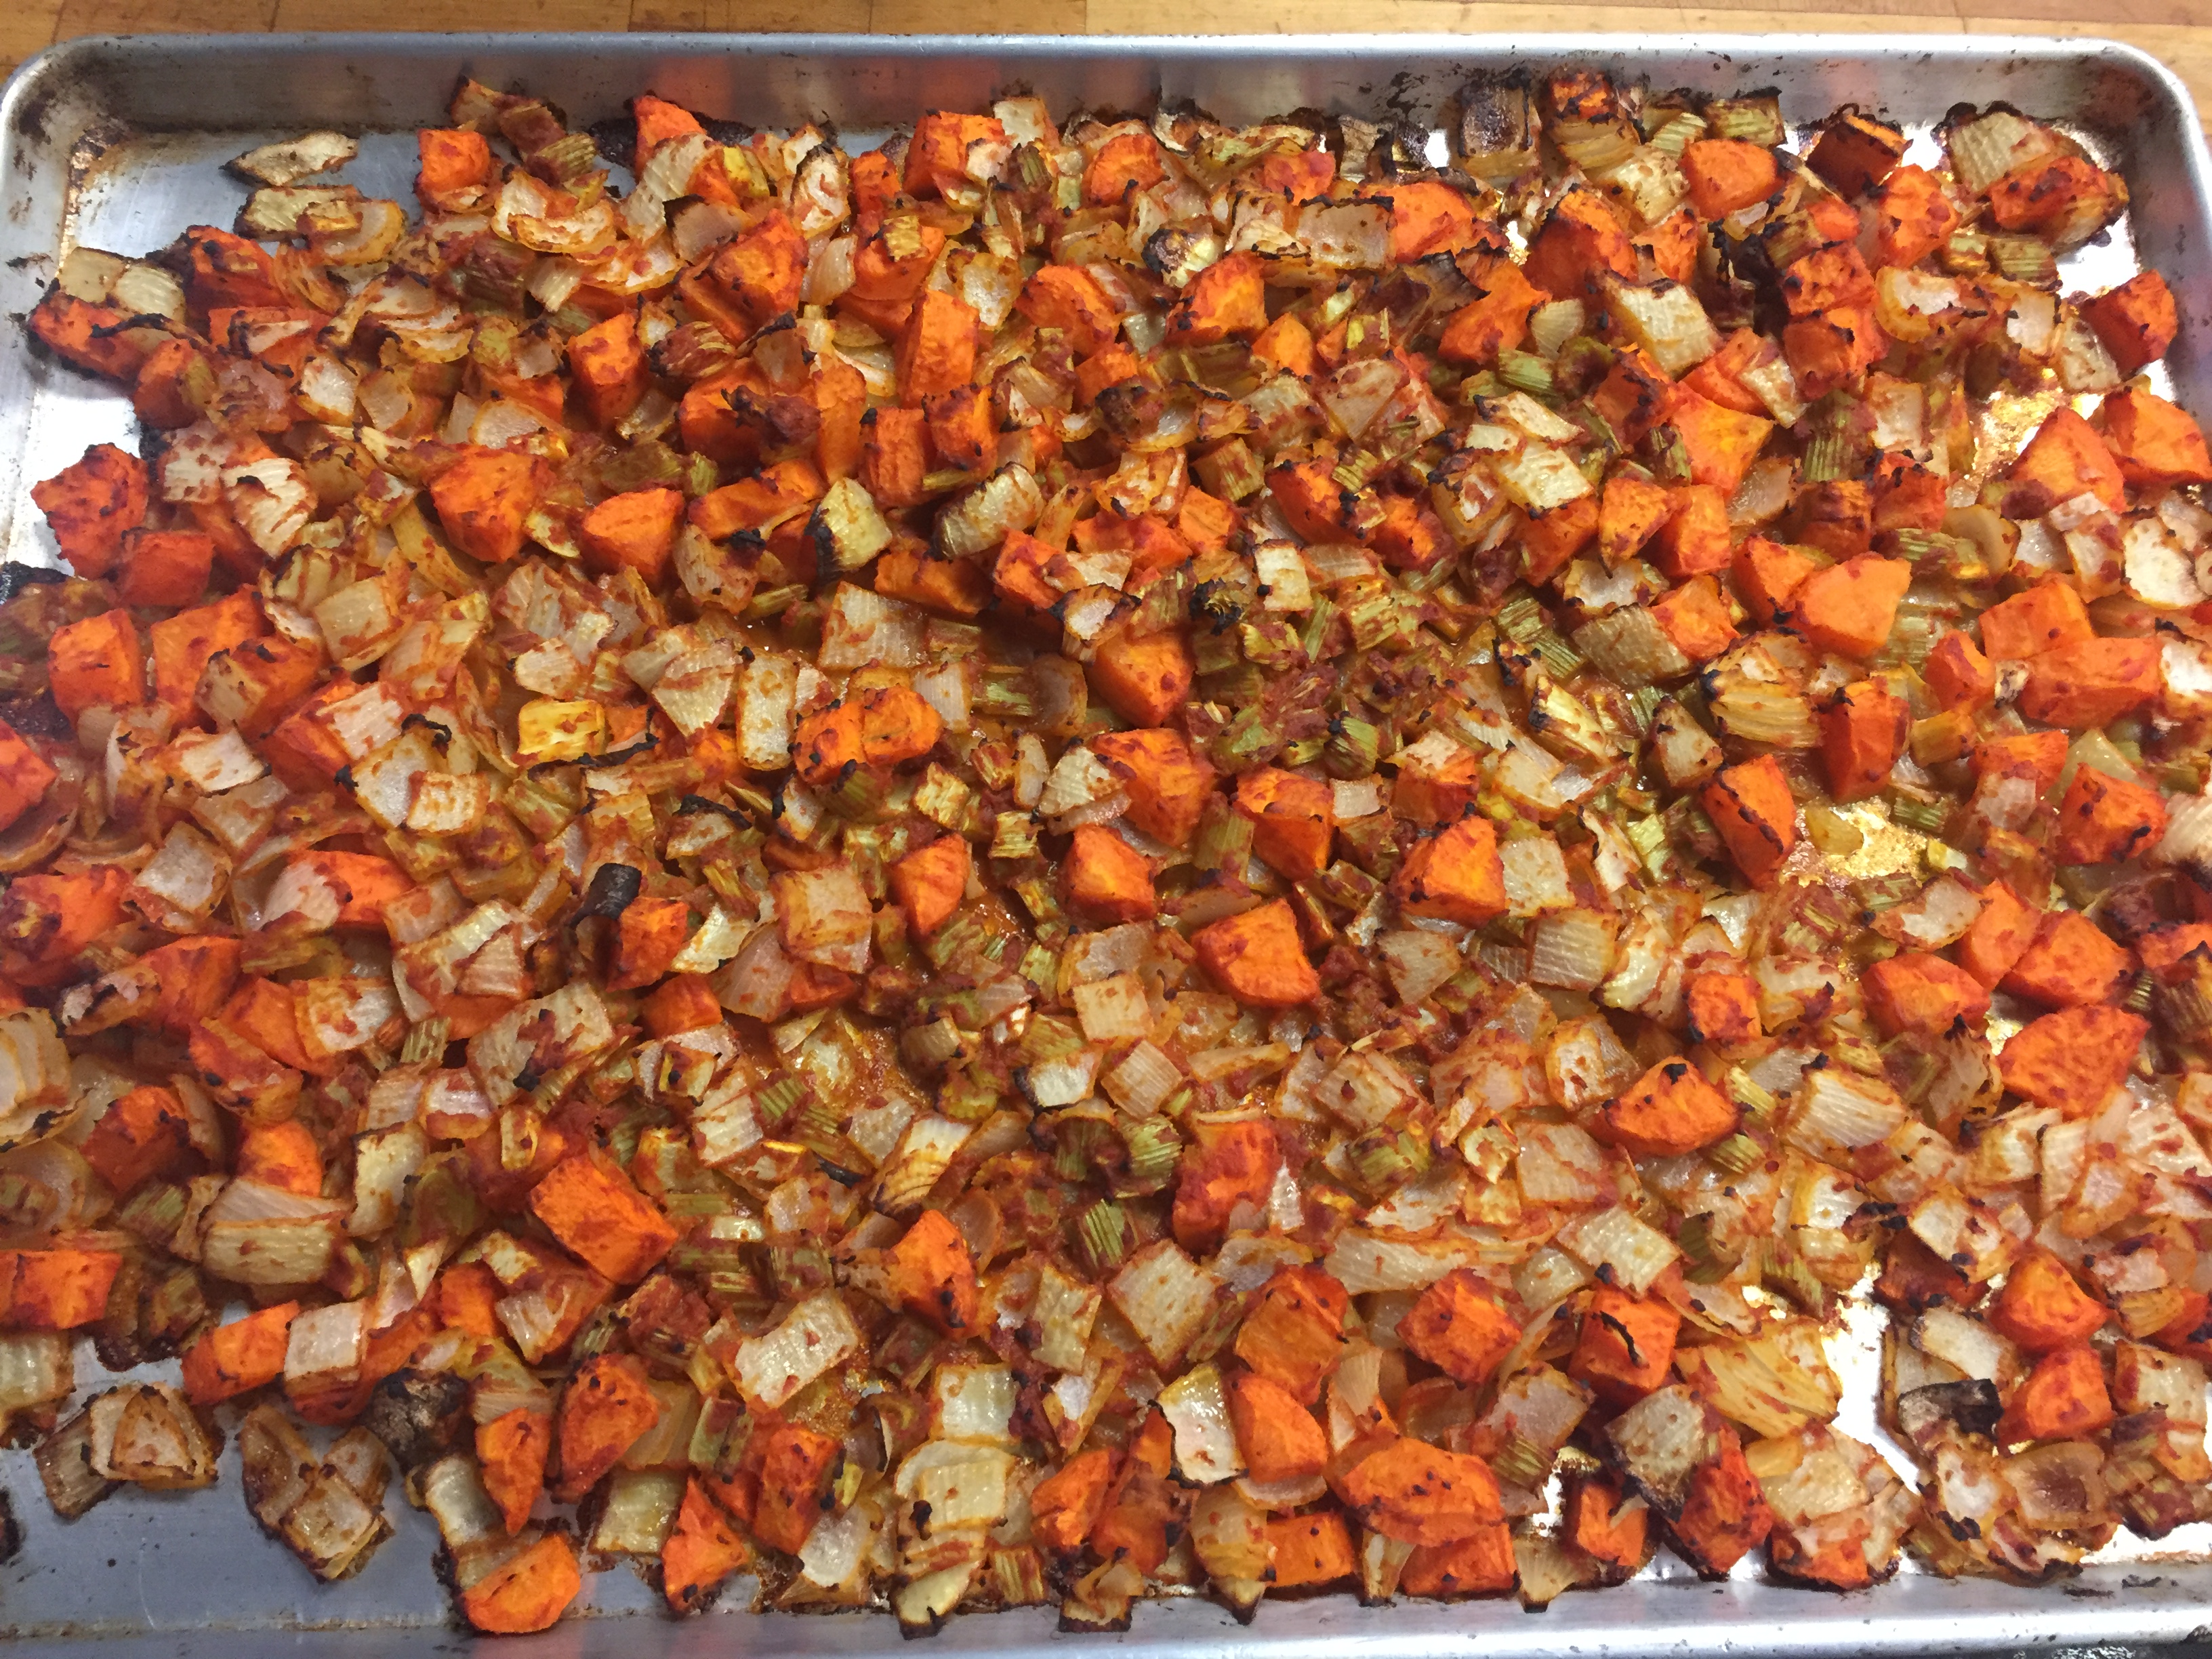
One surefire way to save a little time is to mix your mirepoix all together in a prep bowl with a little olive oil and tomato paste, salt and pepper – then spread it on a sheet-pan and roast it in the oven along with your bones. It serves the same purpose and eliminates a few steps along the way. Provided you don’t overdo it, there will be no noticeable difference in the end-product and it will shave almost an hour off your prep time.
Once everything is in, fill the pot with cold water to within one inch from the top and get it on the stove. Turn on the lowest setting possible and walk away, allowing the heat to gradually build in the pot. Here’s where the time starts adding up. If the heat is too low the pot will sit there with no action at all after several hours. Ultimately, we need a little surface action, just not a whole lot. I’ll adjust it incrementally until I see some noticeable surface foam after an hour or so, but it still won’t be at a simmer. Once some action breaks the surface and you start to see some steady bubbles, it’s time to start monitoring for a while to make sure it doesn’t boil up and over. If it remains at a very slow simmer after an hour, you’re golden. We’ll sit back, try to find the sweet spot for our heat and let the magic start to happen.
Leave a Reply