Making a classic braised beef with a less common cut, such as Braised Chuck Tender – can be tricky. Here are some of the pros and cons of cooking a rich, enjoyable beef stew that is leaner than a braised beef dish made with full chuck.
Yeah – I know – where’s the fun in that?
Chuck tenders or “mock tenderloin” as some like to refer to them – are neither tender – nor are they a substitute for anything which calls for tenderloin. Cut and placed side by side with a piece of filet – I’m sure they’d almost pass. But that’s where the similarities end. Trimmed, cut and pan seared to medium – you have a very nice “sirloin-esque” steak with big beefy flavor. But – I digress…
The cut is still very flavorful – despite lacking any of the marbling or fat associated with rich, well flavored beef. It works very well when mixed with other cuts to stretch a dish or add additional texture. Though it is prone to pulling or shredding when overcooked.
The trick when preparing braised chuck tender – is to land somewhere in the middle of “just done” and maybe “just past the point” of done. You don’t want it to pull apart in the pot, and you should be able to remove them whole – yet break them up if you push on them with a fork.
Being a lean meat with little to no noticeable marble or fat, chuck tender cooks up like a hindquarter of venison – another lean cut of meat that needs to be handled with care and is easy to overdo.
When searing them, you don’t want to push them too far – and when braising – you want to limit the amount of heat that goes into them. It’s easy to chase whatever moisture they natively have right out – and good luck getting any to go back in once overcooked.
The tear-down is straight forward and direct. There’s some very accessible silver-skin that comes right off and covers roughly half of the cut. There’s also some harder to find sinew which runs along one end in the center. Be sure to get it out as it will never break down in the braise.
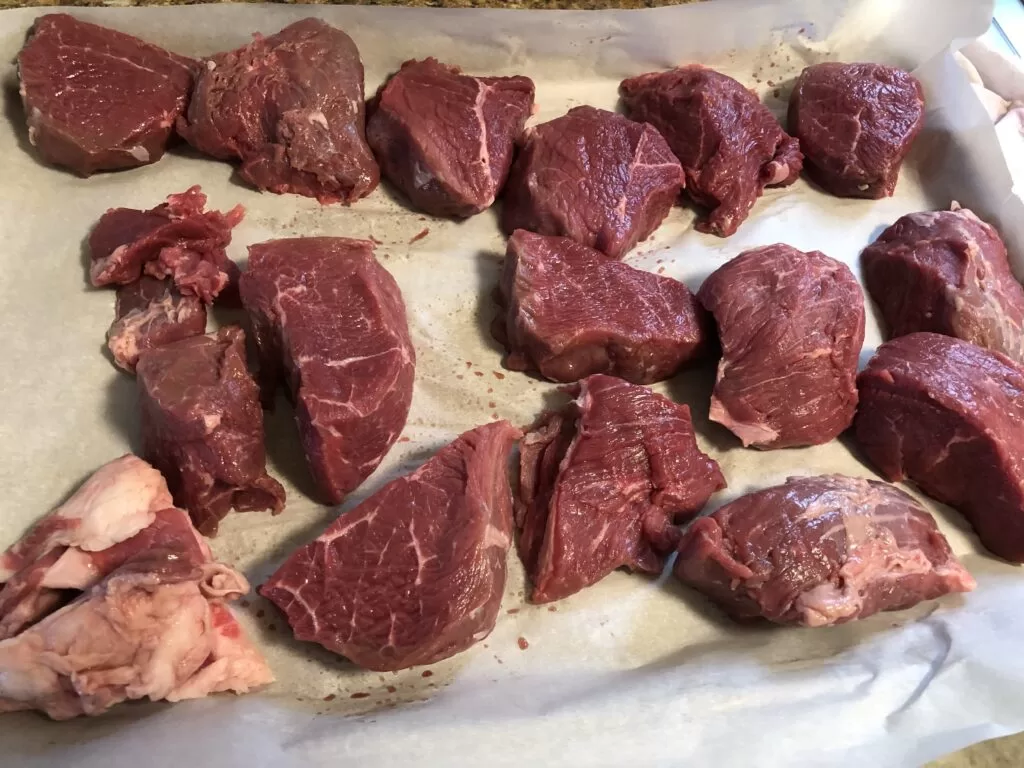
It’s best to cut the chuck tender into multiple smaller steaks – these are roughly 3-5oz pieces pictured here. Any smaller and they won’t stand up to the braise. Any larger and you’ll probably end up with long strings of meat when it comes time for service. Allow plenty of time for the meat to temper or normalize (come closer to room temperature) before starting to sear – or you’ll never get a good sear.
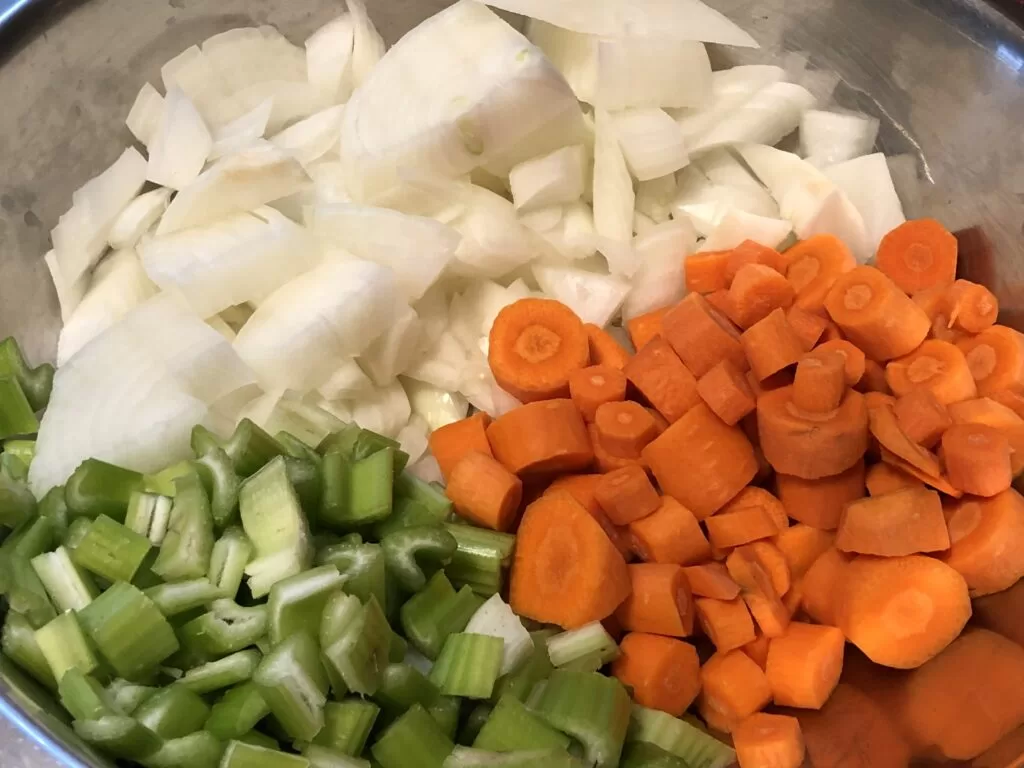
While the meat is normalizing – get started on the mirepoix. No need to worry about a super pretty dice. just get ‘er done and keep the ratio around 50% onion to 25% celery and 25% carrot.
By this time – your heavy bottomed pot should be nice and hot.
Be generous with the oil/fat you use for the sear. It will lessen the uniformity of the sear – but will make up for some of the fat that won’t be rendering out of the meat.
In the long run, more oil and less heat will help with the texture of the finished dish, which is important with this cut. Sear the meat too hard, or worse, try to force color onto the meat, and you run the risk of getting a dry, stringy end-result.


As you’re working the sear – set the pan just hot enough to maintain decent agitation in the fat. Vibrant, active sizzle is a good thing – popping and splatter like bacon fat means you’ve got it set too hot.
Don’t crowd the pan. Use no more than five or six pieces at a time and rotate them in slowly. Doing so will allow you to regulate the temperature in the pan and maintain a good searing environment.
If the pan cools down – you’re done – and you won’t get a good sear. Worse – the meat will stew, or steam and turn rubbery.
Keep an eye on the buildup of the fond in the bottom of the pan beneath the fat. This is where all of your flavor is. Brown is good – black is burnt. (Thank you Gordon Ramsey). We don’t want to burn it and waste all of that goodness.
After all of the meat is seared, set it off to the side – add in your onions and season.
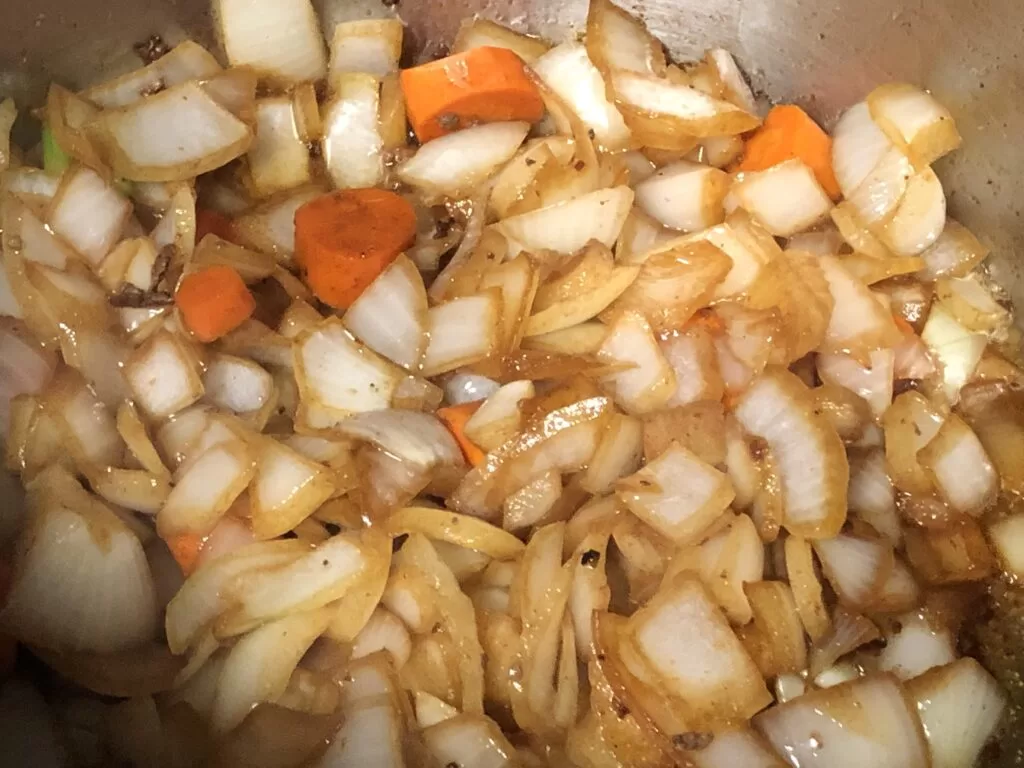
Once again – you want to keep an eye on the heat here. The onions should sweat and release liquid – which in turn will help release the fond from the bottom of the pan. If you add them and they start to brown and dry out – pull the heat back a little. Work these until some of the liquid starts to evaporate (5-10 minutes if the pan is set to the proper temperature.) Then add the carrots and work them for a bit.
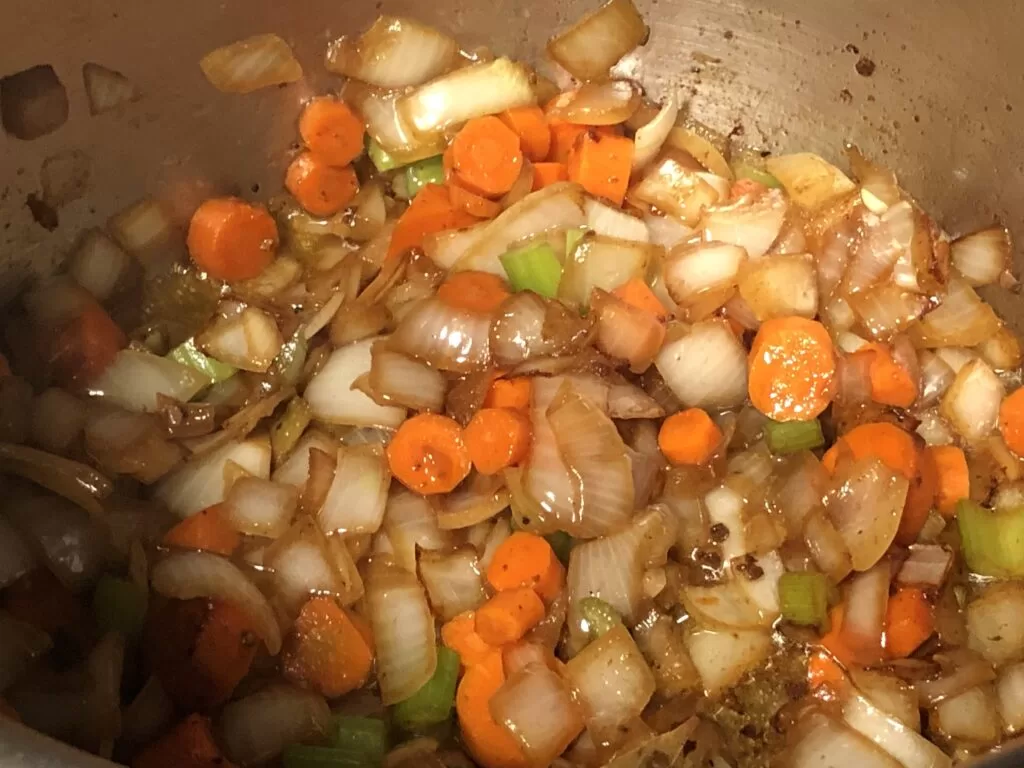
Sweat the carrots for a while and wait for them to release a little – then add your garlic and celery. The celery isn’t really going to do a great deal – and if anything, it adds that last little bit of moisture to help the fond clean up… Let that ride for a few minutes until the garlic is good and aromatic.
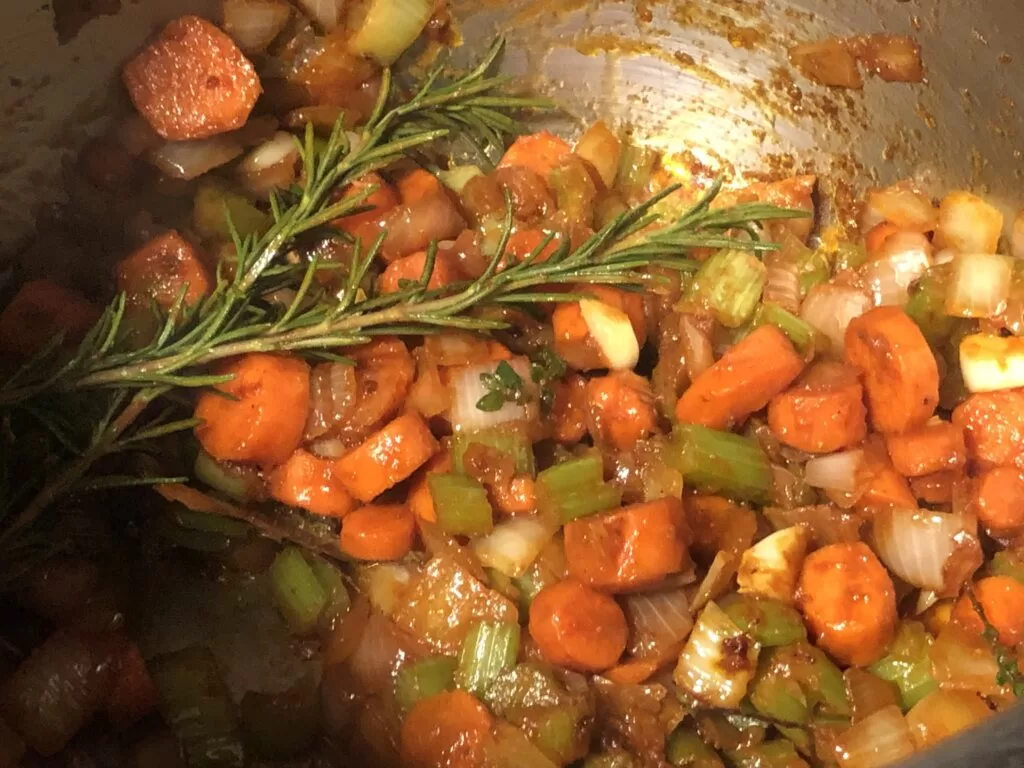
Than add your tomato paste. Allow it to cook and work into the mixture for a few minutes, which will help remove the fresh, uncooked flavor. Once it starts to brown and most of the liquid is gone from the mirepoix, toss in your herbs (rosemary and thyme in this case) season one last time, add the meat and enough liquid to just cover the meat.

The recurring theme here – is to keep the heat low so as not to overwork the meat. Cover partially and bring to a gentle, steady simmer. Do not allow it to boil. Then place the pot, completely covered, into a well preheated 275 degree conventional oven. Allow the meat to braise for 2.5 to 3 hours. You’ll know its done when a chopstick or skewer pokes through a piece without any effort.
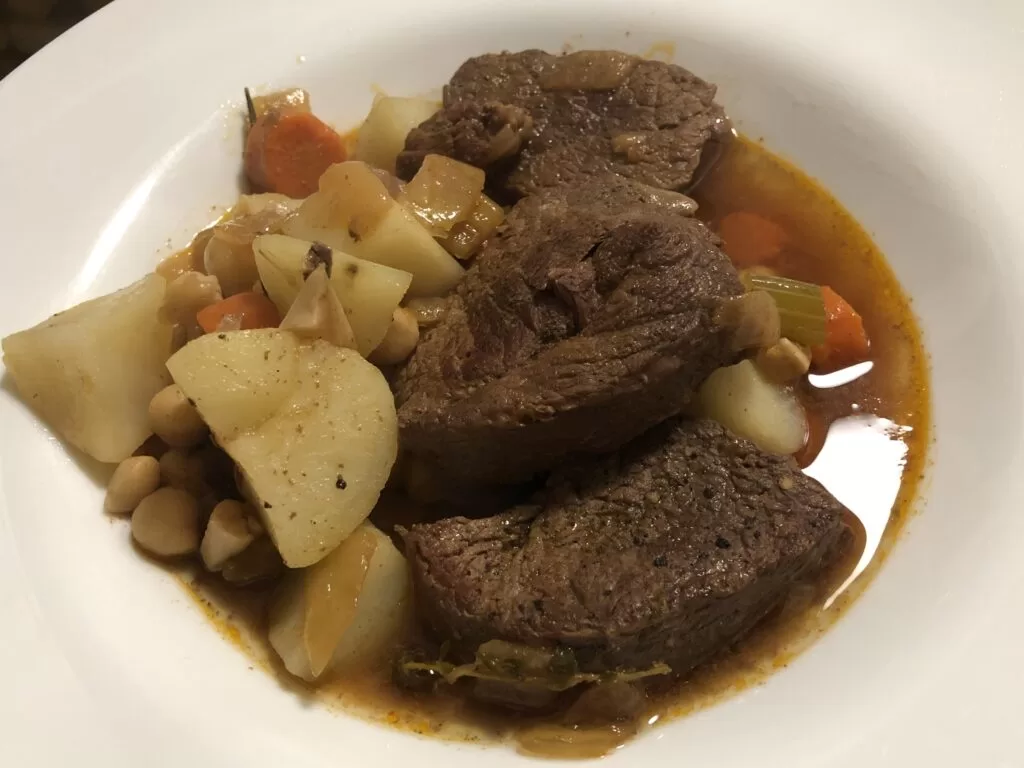
In the end – you’ll end up with a very serviceable, and quite flavorful classic pot roast – with far less fat than a typical chuck roast or heavily marbled beef you might find in the time honored, traditional Beef Bourguignon.
There are some trade-offs with this dish that can be minimized by watching how much heat you throw at it along the way. Mouth feel and texture are a bit less “luxurious” when compared to dishes made with fattier meats, meats I tend to save for events where many people will be eating a small amount.
These trad-offs however, are overcome with one absolutely necessary elevation to the dish (one that will benefit any braised beef in fact).
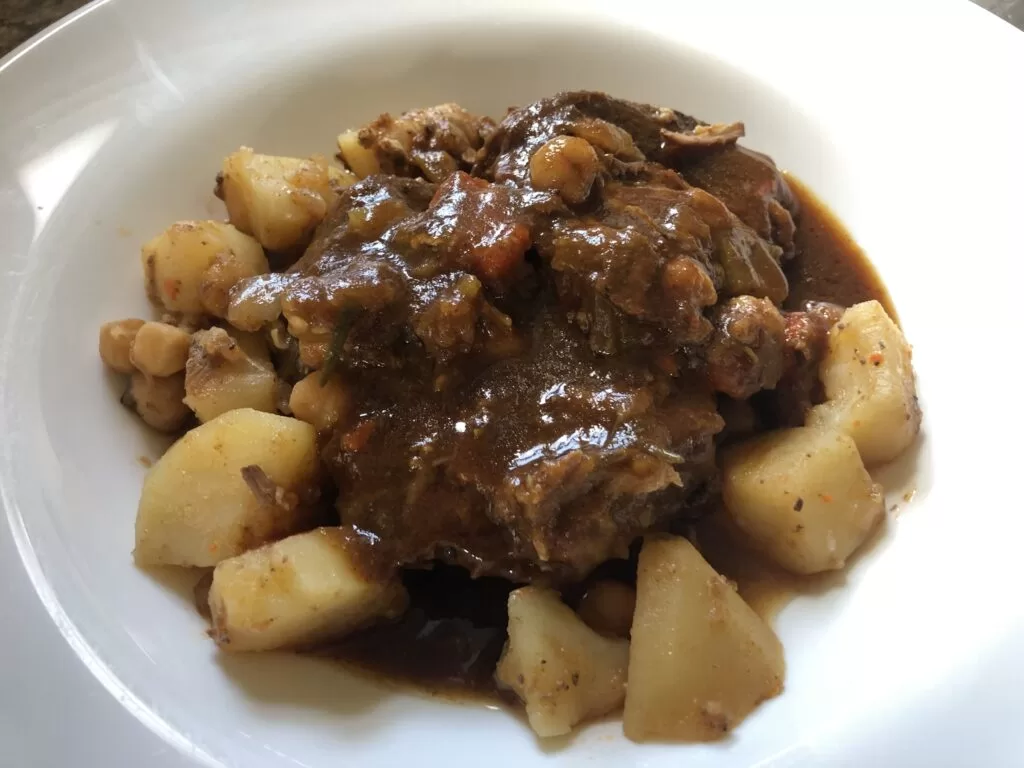
Strain the meat and vegetables from the pot, pour the remaining braising liquid into a heatproof container, and allow both to chill overnight. The next day, skim the fat from the top of the liquid, return it to the burner and very slowly reduce it by half.
Reconstitute some of the roast in a small amount of broth and ladle the reduction over the top and serve. You’ll find the difference in the dish to be night and day – and nary a soul will be displeased…
Ours is already gone… Ate the last of it today… The potatoes, as pictured, were steamed on the side and added to the dish when it first came out of the oven. A little guarantee that nothing funny goes on in the braising pot along the way. I’ve had moments where they didn’t quite cook all the way through. This method does away with that.
Leave a Reply